Find out how to create a gel nail using a Builder Gel in a bottle: preparation, apex, building, curing and finishing. A comprehensive guide from LuluNails Belgium.
How to Apply a Builder Gel from a Bottle? LuluNails Belgium Guide
Would you like to strengthen your natural nails without applying long extensions? The coating technique using bottled builder gel is an ideal way to make your natural nails stronger whilst maintaining a subtle, elegant and natural finish.
Thanks to its built-in brush, the bottled Builder Gel, also known as a bottled builder gel, allows for convenient and precise application. It is particularly useful for strengthening natural nails, short nail extensions and manicures requiring a slightly reinforced structure.
In this LuluNails guide, discover how to apply a builder gel from a bottle, step by/strong>, how to create a slight apex, and what mistakes to avoid to achieve a neat and long-lasting application.
Whatis a nail wrap?
A nail wrap involves strengthening the natural nail without necessarily adding length.
Unlike an extension carried out using a template, tips or capsules, nail strengthening generally preserves the natural length of the nail.
A thin layer is applied to the natural nail plate to improve:
- the nail’s strength;
- its structure;
- its shape;
- its appearance;
- the longevity of the manicure.
This strengthening treatment can be particularly beneficial for those who wish to let their natural nails grow whilst providing them with extra support.
What is a bottle of Builder Gel?
The Builder Gel in a bottle is a builder gel presented in a bottle fitted witha built-in brush, similar to the packaging of semi-permanent nail varnish.
It may also be known as:
- Builder Gel in a Bottle;
- BIAB, depending on the brand and usage;
- Brush-On Builder Gel;
- Flexible Builder Gel;
- builder gel in a bottle.
Its format allows you to work directly with the brush attached to the bottle, making application particularly convenient for use on natural nails.
Depending on its formulation, its viscosity and flexibility, it can be used to create a coating, strengthen a natural nail and create a slight curve or apex.
Why use a bottle of Builder Gel for coating?
The main advantage of Builder Gel in a bottle is its ease of use.
The built-in brush allows you toapply the product directly without having to scoop the gel out of a pot with a separate brush.
It is particularly practical for:
- coating natural nails;
- strengthening;
- short to medium-length nails;
- creating a slight apex;
- touch-ups;
- natural-looking applications;
- nude or milky manicures.
A self-levelling Builder Gel can &also help create a smooth surface and reduce the need for filing when applied correctly.
How do you apply a builder gel from a bottle?
Here are the main steps for creating a neat builder coat on natural nails.
Step 1: prepare the natural nail
Proper preparation is essential.
Start by:
- disinfecting your hands;
- gently push back the cuticles;
- remove any flaky skin from the nail plate;
- shape the free edge as desired;
- lightly buff the surface of the nail with a suitable buffer;
- carefully remove all dust.
The nail plate must be clean before you begin the application.
Avoid touching the nail with your fingers after preparation.
Step 2: apply the Nail Prep and the Primer if necessary
Depending on the protocol for the product being used and the nature of the nail, a suitable Nail Prep and/or Primer may be used.
Nail Prep helps to prepare the nail plate before applying UV/LED products.
The Primer can improve adhesion when required by the system being used.
It is important to always follow the recommendations for the chosen Builder Gel.
Step 3: apply a thin bonding layer
Apply a thin layer of product over the entire surface of the nail.
Work neatly around the cuticles without touching the skin.
This first coat creates a uniform base for the build-up.
Depending on the Builder Gel system used, this layer may be cured before proceeding with the build, orworked according to the technique recommended by the brand.
Step 4: create the base coat using the Builder Gel
This is the main step.
Apply an appropriate amount of Builder Gel to the nail.
Gently spread the gel, ensuring that:
- a thin layer near the cuticles;
- more gel in the stress zone;
- a properly reinforced free edge;
- an even surface.
Theaim is not to create a very thick nail.
A good nail extension should retain a natural appearance whilst providing sufficient structure.
How do you create the apex?
Theapex is the point where the build is reinforced.
On a short build, it can remain discreet.
Apply a small additional amount of Builder Gel to the area requiring more structure.
Use the brush to gently guide the gel without applying excessive pressure.
If your Builder Gel is self-levelling, allow a few seconds for the gel to smooth itself out.
You can also briefly turn your finger upside down to help the gel re-centre itself, provided the product’s viscosity and your technique allow it.
Always check the shape of the nail before curing.
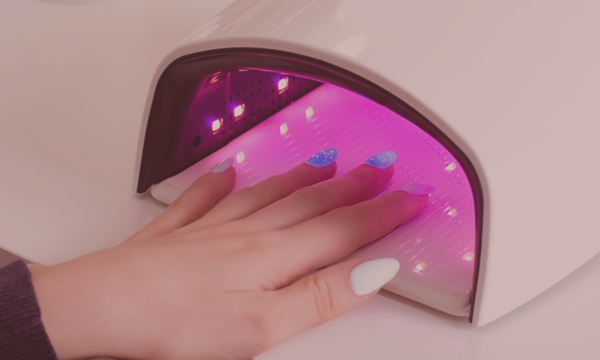
Step 5: Cure under a UV/LED lamp
Once you are satisfied with the shape, place the nail under a UV/LED lamp compatible with the product used.
It is essential that you adhere to the recommended curing time for your Builder Gel and your lamp.
Proper curing depends in particular on:
- the product;
- the thickness of the layer applied;
- the power and type of lamp;
- the recommended curing time.
Do not apply an excessively thick layer in an attempt to work more quickly.
Step 6: check the structure
After curing, look at the nail from the front and from the side.
Check:
- the apex;
- the parallel lines;
- the surface;
- the free edge;
- the thickness;
- the cuticle area.
With a self-levelling builder gel applied correctly, very few corrections may be necessary.
If the surface is uneven, lightly file it into shape before continuing.
Step 7: apply the colour
Once the coating is complete, you can keep the natural colour of the Builder Gel or apply a semi-permanent polish.
Shades such as nude, milky, natural pink, red, burgundy or chocolate allow you to fully personalise the result.
Apply the colour in thin layers and cure each layer according to the product instructions.
Step 8: Finish with the Top Coat
Then apply a UV/LED Top Coat to protect the colour and achieve the desired finish.
You can choose:
- a glossy finish;
- a matt finish;
- a natural finish;
- a nail art finish.
Cure according to the product instructions.
Your gel build is complete.
Can you create a gel build without filing using a Builder Gel?
A self-levelling Builder Gel can help to significantly reduce the need for filing provided the amount of product and theshape are properly controlled.
However, ‘no filing’ does not mean that you should systematically avoid any corrections.
Before applying the colour, always check:
- the evenness of the surface;
- the profile;
- the parallels;
- the shape;
- the apex;
- the free edge.
A minor correction is preferable to an incorrect structure.
Builder Gel in a bottle or Rubber Base for a coating?
Both products can be used to strengthen natural nails, but they are not necessarily the same.
Rubber Base
Rubber Base is generally chosen to create a relatively thin and flexible reinforcement.
It may be suitable for short extensions and natural nails when the formulation is appropriate.
Builder Gel in a bottle
Builder Gel generally allows for more detailed work on the structure and creates a more pronounced apex.
It can be particularly useful when seeking greater build-up than is possible with a simple reinforced base.
The best product therefore depends on:
- the length of the nail;
- the nature of the nail plate;
- its flexibility;
- the technique used;
- the desired result.
Builder gel in a bottle or builder gel in a pot?
The choice also depends on the type of application.
Builder Gel in a bottle
Particularly practical for:
- natural nails;
- coating;
- reinforcements;
- short applications;
- quick applications.
Builder gel in a pot
Gel in a pot is often preferred when the technician wishes to work on:
- more elaborate designs;
- long extensions;
- technical shapes;
- major corrections;
- constructions requiring more product.
There is therefore no single gel that is ideal for all techniques.
Mistakes to avoid when applying Builder Gel
Applying too much product near the cuticles
The cuticle area must remain thin and clean.
The Builder Gel must not touch the skin.
Creating a nail that is too thick
Applying a huge amount of gel does not automatically result in a more durable application.
The structure and correct placement of the material are essential.
Neglecting nail preparation
Even a perfect application on a poorly prepared nail plate may still result in problems withadhesion.
Failing to create structure
Building up the nail is not simply a matter of applying a thick layer of gel.
The material must be distributed correctly.
Using an unsuitable lamp
Curing must be carried out in accordance with the product instructions.
Touching the cuticles with the gel
Uncured UV/LED products must not come into contact with the skin.
Work neatly and immediately remove any excess product before curing.
Which colour of Builder Gel should you choose for a natural-looking manicure?
To achieve a very natural look, the easiest colours to wear are generally:
Nude
Ideal for an elegant and understated manicure.
Milky
Perfect for achieving a slightly milky effect.
Natural pink
An excellent colour for preserving the natural appearance of the nail plate.
Clear
The clear Builder Gel is a good choice when a semi-permanent nail varnish colour is to be applied afterwards.
These shades can also be used as a base for a French manicure or a Baby Boomer.
Who is the Builder Gel coating suitable for?
The coating may be of interest to people who:
- wish to preserve their natural nails;
- want to let them grow;
- are looking for greater strength;
- prefer a natural look;
- do not necessarily wish to createextensions;
- are looking for an alternative to simply applying semi-permanent nail varnish.
However, the technique must be adapted to the nature and condition of the nail.
Flexible Builder Gel LuluNails Belgium
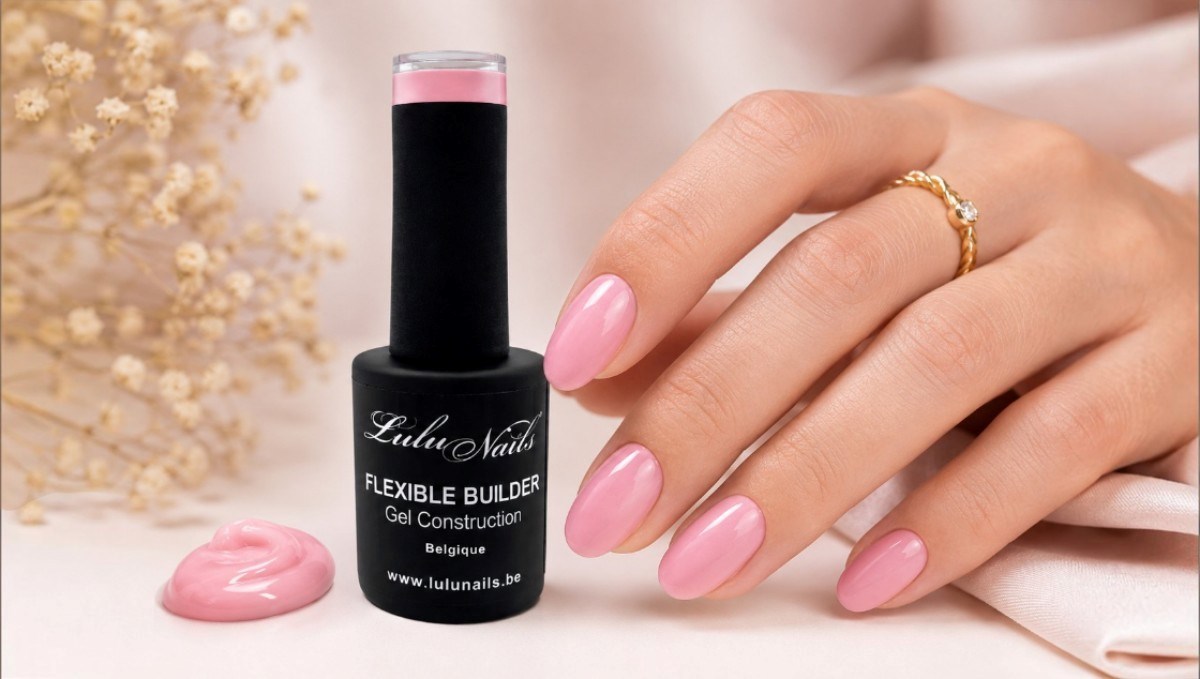
LuluNails offers a range of Flexible Builder Gel – builder gels in bottles designed specifically for strengthening and coating natural nails.
The bottle format with an integrated brush enables convenient application and makes short nail extensions easier.
You can combine your Builder Gel with the other products required for your manicure:
- nail preparation;
- Base Coat;
- semi-permanent nail varnish;
- Top Coat;
- files and buffers;
- UV/LED lamps;
- professional accessories.
Discover the LuluNails Flexible Builder Gel range and choose the shade that suits your next manicure.
FAQ – Nail extensions using builder gel in a bottle
Can you create nail extensions using builder gel in a bottle?
Yes. A builder gel designed to strengthen natural nails can be used to build up the nail and create a lightweight structure on the natural nail plate.
What is the difference between a strengthening treatment and an extension?
A strengthening treatment primarily reinforces the existing natural nail. An extension adds length to theusing a template, a capsule, a tip or another suitable technique.
Is it necessary to create an apex for a strengthening treatment?
A slight apex helps to reinforce the stress zone. Its importance depends, in particular, on the length and natural structure of the nail.
Is Builder Gel in a bottle suitable for beginners?
Its built-in brush can make application more convenient. However, it is still important to learn how to prepare the nail, apply the gel, shape the nail and cure it correctly.
Can semi-permanent nail varnish be applied over Builder Gel?
Yes. Once the build-up has been completed and checked, a compatible semi-permanent polish colour can be applied before the top coat.
Can Builder Gel only be used on natural nails?
Builder Gel in a bottle is particularly practical for natural nails. Some formulations may also allow for other applications. You should always check the intended uses for the product in question.
Builder Gel or Rubber Base: which one should you choose?
For light, flexible reinforcement, a suitable Rubber Base may be sufficient. To create more structure and shape the apex, a Builder Gel may be more appropriate.
Why is my Builder Gel lifting?
There are several possible causes for lifting: insufficient preparation, product on the cuticles, a product unsuitable for the nail plate, poor structure or an incorrect curing procedure.
Discover LuluNails Builder Gels in bottles
Would you like to create a natural nail extension, strengthen your nails or achieve an elegant nude manicure?
Discover the Flexible Builder Gels in bottles from LuluNails Belgium, as well as our selection of professional products to prepare, build and finish your manicure.