Is your semi-permanent nail varnish chipping or peeling away at the free edge? Find out the causes: preparation, base coat, layers, top coat and UV/LED lamp.
Why is my semi-permanent nail varnish chipping at the tips? Causes of lifting at the free edge | LuluNails Belgium
Is your semi-permanent nail polish chipping at the tips of your nails, lifting at the free edge or starting to come off after just a few days?
This problem is different from lifting near the cuticles.
When the polish starts tofail mainly at the tip of the nail, several factors need to be considered: preparation of the free edge, éthickness of the layers, flexibility of the natural nail, base coat, top coat, curing and daily habits.
It is therefore not always necessary to change your nail varnish straight away.
In this guide, LuluNails Belgium explains why semi-permanent nail varnish canflake off at the tips of your nails and which steps to check to achieve a more even application.
Why does semi-permanent nail varnish peel away at the tips of the nails?
The free edge is one of the areas most subject to wear and tear on a daily basis.
It regularly comes into contact with:
- keyboards;
- telephone;
- clothes;
- packaging;
- household products;
- water;
- objects;
- various surfaces.
A natural nail may also bend slightly when pressure is applied.
If the system applied to the nail does notaccommodate this flexibility properly, or if the application is weak at the tip, the product may gradually:
crack → chip → lift → peel off.
It is therefore essential to identify the cause before simply applying a new coat.
1. The free edge has not been properly prepared
Proper preparation is not limited to the cuticle area.
The free edge must also be clean and properly prepared according to the system used.
Before application, check:
- the shape of the nail;
- any minor irregularities;
- dust;
- moisture;
- residue;
- the general condition of the nail tip.
A suitable file allows you to shape the nail neatly without unnecessarily weakening the natural nail.
Caution
Avoid filing the natural nail plate excessively.
The aim is to prepare the surface in accordance with the product’s instructions, not to make the nail extremely thin.
LuluNails Professional Nail Files.
2. The polish is not applied correctly right up to the free edge
When applying semi-permanent nail varnish, the tip of the nail must not be completely overlooked.
Depending on the product and the procedure used, it may be necessary to apply the colour neatly right up to the free edge.
However, you mustavoid creating a thick build-up of product in this area.
The aim is:
a thin, even layer that is correctly positioned.
Not a thick layer intended to “protect” the edge.
Should the free edge be sealed?
We often hear about ‘sealing’ or ‘edging’ the free edge.
This technique involves applying a very small amount of product to the tip of the nail when the system being used allows for this.
It can be carried out in stages such as:
- Base Coat;
- colour;
- Top Coat.
However, this must remain extremely thin.
A thick build-up at the tip of the nail can, on the contrary, result in:
- excess thickness;
- an unnatural shape;
- an area that is more prone to snagging.
Always follow the precise instructions for the LuluNails product you are using.
3. The layers of polish are too thick
This is one of the main causes to check first.
A very thick semi-permanent polish is not necessarily more durable.
An excessively thick layer can lead to:
- wrinkles;
- unevenness;
- poor curing;
- shrinkage;
- lifting;
- chipping.
It is generally preferable to work as follows:
a thin first coat → curing
then
a second thin coat if necessary → curing
rather than a single very thick coat.
Why does semi-permanent nail polish shrink or wrinkle?
4. The natural nail is very flexible
Not all natural nails behave in the same way.
Some are:
- strong;
- rigid;
- thin;
- supple;
- very flexible.
A very flexible nail may move more under pressure.
If the system applied on top is too rigid or does not suit the nail, stress may build up at the free edge.
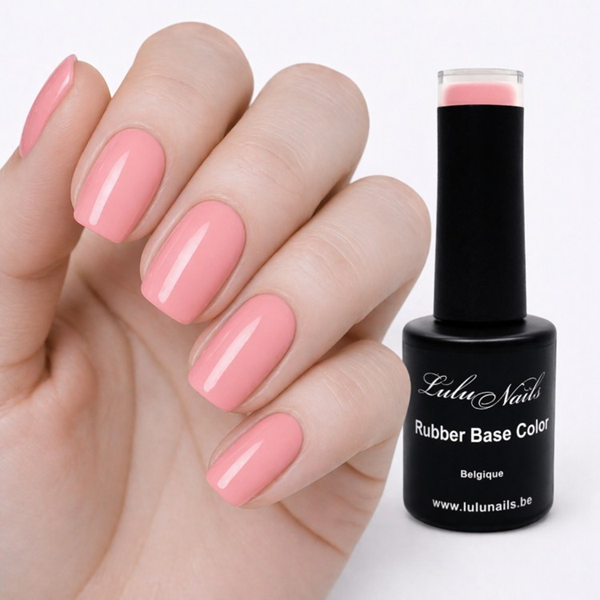
In some cases, a suitable Rubber Base can provide greater reinforcement than a standard Base Coat.
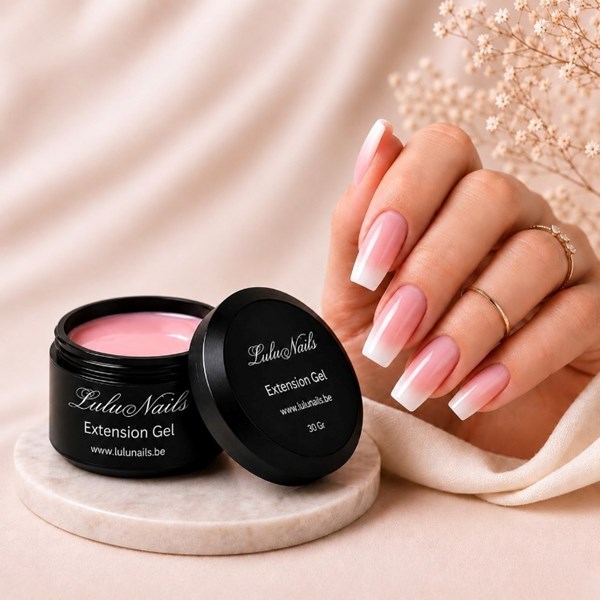
For greater structure, a Flexible Builder Gel may also be considered, depending on the condition of the nail and the technique used.
LuluNails already distinguishes between Base Coat, Rubber Base and Builder Gel depending on the type of nail and the level of reinforcement required. LuluNails
Base Coat, Rubber Base or Builder Gel?
Base Coat
For a standard application on natural nails that do not require much strengthening.
Rubber Base
For certain natural nails requiring light reinforcement and greater flexibility.
Flexible Builder Gel
For building up the nail further and creating a slight structure where necessary.
Builder Gel
For builds requiring more structure, an apex or certain extensions.
The thickest product is therefore not automatically the best.
You should choose the one that suits the natural nail and the technique.
5. The Base Coat does not suit the nail
The Base Coat plays a part in the adhesion process.
However, using a lot of base coat does not automatically mean better durability.
An excessively thick layer can result in an unbalanced application.
Follow the protocol:
preparation → preparation products if necessary → suitable Base Coat → colour → Top Coat.
If your client has particularly soft, thin or brittle nails, assess the nail first before deciding which base coat to use.
Which Base Coat to Choose for Semi-Permanent Nail Polish?
6. Incorrect use of nail prep or primer
Using more preparation products does not guarantee better adhesion.
LuluNails distinguishes between:
Cleaner → cleaning according to protocol
Nail Prep → temporary dehydration
Primer → aids adhesion where necessary
Apply the preparation products as follows:
- in the correct order;
- in small quantities;
- only when necessary;
- without touching the skin.
Cleaner, Nail Prep or Primer: What’s the Difference?
7. The Top Coat does not protectthe tip properly
The top coat is the final layer of the application.
Incorrect application at the free edge can leave this area looking less even.
So check the following before curing:
- the centre of the nail;
- the sides;
- the cuticles;
- the free edge.
The coat must remain even.
A large amount of Top Coat at the tip of the nail does not mean greater protection.
At LuluNails, the different finishes include, in particular, glossy, matt and residue-free top coats. LuluNails
LuluNails Top Coat & Base Coat.
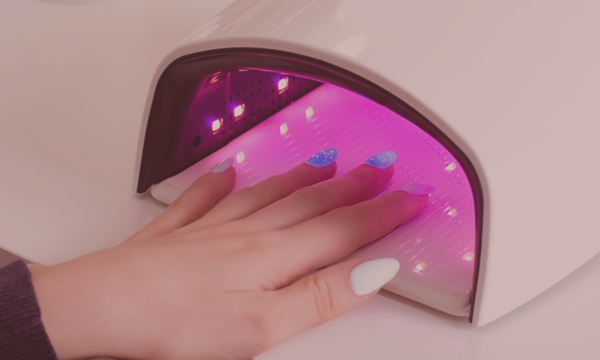
8. Insufficient curing
An application may appear correct immediately after curing in the lamp but may nevertheless present a problem if the polymerisation is not adequate.
Check:
- product compatibility with the lamp;
- curing time;
- layer thickness;
- hand position;
- thumb position.
You should not simply use a shorter curing time just because a lamp has a higher wattage.
Compatibility between the product and the lamp remains essential. LuluNails already highlights this point in its guides on lamps and curing. LuluNails
9. Why does the thumb sometimes peel more quickly?
The thumb is often subjected to greater strain.
It is regularly used to:
- open;
- push;
- hold;
- grip;
- peeling off certain objects.
Its position under the lamp may also differ from that of the other four fingers.
If the thumb is not correctly aligned with the LEDs, polymerisation may not take place in exactly the same way.
Depending on the lamp and the procedure, it may be helpful to position the thumb correctly or to cure it separately.
10. Nails are used as tools
Even a good semi-permanent nail varnish is not indestructible.
Use your nails to:
- open a can;
- scrape off a label;
- open a cardboard box;
- peel off an object;
- force open packaging;
significantly increases the stress placed on the free edge.
The polish may then start to lift or flake off.
Customers with long nails must take particular care when performing these actions.
11. Water and household cleaning products
Repeated daily exposure can also affect the manicure.
When:
- cleaning;
- washing;
- housework;
- contact with chemicals;
it is best to use suitable gloves.
These help to limit direct contact between your hands and your manicure and household cleaning products.
12. Why does the nail varnish chip only on certain fingers?
This is very useful information.
If the polish stays on perfectly on eight fingers but regularly chips on two, the person’s habits need to be examined.
For example:
Thumb
Heavily used for gripping and opening.
Index finger
Used for tapping, scratching or handling.
Dominant hand
May be subject to more impact.
It is therefore not necessarily a problem with the entire bottle.
Check where the problem occurs.
Lifting at the cuticles or the free edge: what’s the difference?
It is important to distinguish between them.
Lifting near the cuticles
Check the following in particular:
- preparation;
- small flakes of skin on the nail plate;
- product coming into contact with the skin;
- amount of primer;
- dust.
Lifting at the free edge
Check the following in more detail:
- condition of the tip;
- flexibility of the nail;
- coats;
- application;
- top coat;
- curing;
- daily habits.
This distinction helps to avoid having to change the entire procedure when the problem is confined to a single area.
Nail varnish that chips or gel that cracks: these are not the same problem
A semi-permanent nail varnish thatchips usually affects the layers of the system applied to the nail.
A gel build-up that cracks relates more to the structure of the material.
When a gel crack occurs, you should check the following in particular:
- apex;
- stress zone;
- architecture;
- length;
- edge;
- thickness.
LuluNails has just published a specific guide dedicated to gel nails that crack or break at the sides. LuluNails
Should you file the free edge after finishing the application?
Be careful.
If you significantly alter the shape of the nail after applying all the layers, you may also alter the finish at the tip.
It is generally preferable to achieve the desired shape before the finishing stage, then to follow the protocol specified for your system.
If a correction is needed after application, adjust the finish correctly rather than leaving an unprotected area.
Why does nail varnish flake off very short nails?
On some very short nails, the free edge is almost non-existent.
This can make application at the tip more tricky.
However, avoid letting the product touch the skin simply to provide more coverage.
Uncured gel polish should remain on the nail and not on the skin.
On very short nails, work with:
- a small amount of product;
- a controlled brush stroke;
- a thin coat;
- precise application.
Can you simply reapply polish to a chipped area?
This is not usually the best solution.
You first need to understand why the area has lifted.
Simply applying:
colour Top Coat
to a lifted area may temporarily mask the problem without addressing the cause.
The area must be assessed and prepared correctly before any correction is made.
Do not simply cover over a bubble or a lifted area.
How can you prevent semi-permanent nail varnish from chipping at the tips?
Remember this method.
1. Prepare the nail properly
Without aggressive filing.
2. Shape the nail before application
Tune the free edge properly.
3. Remove any dust
No residue should remain on the nail plate.
4. Use Nail Prep / Primer if the protocol requires it
In a controlled amount.
5. Choose the right base
Base Coat, Rubber Base or Builder, depending on the nail.
6. Apply a thin coat
The first coloured coat does not need to be extremely opaque.
7. Cure.
Follow the protocol.
8. Apply the second coat if necessary
Always apply a thin coat.
9. Apply the top coat
Apply evenly right to the tip, depending on the system used.
10. Cure properly
Using a compatible lamp.
How many coats should be applied?
In many cases:
Base Coat
→ 1st colour coat
→ 2nd colour coat if necessary
→ Top Coat
However, the exact number depends on the product and the desired result.
Colours:
- Milky;
- nude;
- translucent;
may be intentionally left slightly transparent.
Do not apply multiple coats simply to achieve a level of opacity that may not be intended for that particular shade.
LuluNails Semi-Permanent Nail Varnishes – HEMA- and TPO-free
The LuluNails ranges in questionare marketed as HEMA- and TPO-free semi-permanent nail polishes. The brand offers a range of Gel Colours designed for UV/LED manicures. LuluNails
The statement ‘HEMA- and TPO-free’ does not mean hypoallergenic and does not rule out the possibility of a reaction to another ingredient.
For UV/LED products:
- avoid contact with the skin;
- remove any excess product before curing;
- use a compatible lamp;
- follow the product instructions.
FAQ – Semi-Permanent Nail Polish Peeling at the Tips
Why is my semi-permanent nail polish peeling at the tips of my nails?
Check the preparation of the free edge, the flexibility of the natural nail, the thickness of the coats, the base system, the top coat and the curing process.
Why does my polish stick to the cuticles but peel off at the tips?
This suggests that the problem may be more related to the tip of the nail thanthe preparation of the cuticles.
Should the free edge be sealed?
Where the product’s instructions specify this, a very small amount canbe applied to the tip. However, avoid creating excess thickness.
Can a Rubber Base help with flexible nails?
In some cases, a suitable Rubber Base can provide more flexible reinforcement than a standard Base Coat. The choice, however, depends on the condition and length of the nail.
Why does my index finger always chip first?
The index finger is under particular strain in everyday life. Take note of the repetitive movements and stresses placed on this finger.
Why does my nail varnish chip after two days?
A problemproblem that arises so quickly may require you to check the preparation, contact with the skin, thickness, the base coat used and curing.
Does a thick coat last longer?
No. A thick coat does not guarantee better durability and can cause polymerisation problems.
Can you repair just the tip?
That depends on the condition of the application. Any lifted areas must be removed or corrected properly before reapplying the finish.
Comprehensive 6-day training course – Nail Technician
Discover LuluNails Belgium’s semi-permanent nail polishes
Find a wide selection of UV/LED colours at LuluNails Belgium:
Nude – Milky – Pink – Red – Burgundy – Chocolate – Plum – Blue – Green – Pastel – Cat Eye and many more shades.
Complete your manicure with:
Base Coat – Rubber Base – Flexible Builder Gel – Top Coat – Nail Prep – Primer – Cleaner – UV/LED lamps.