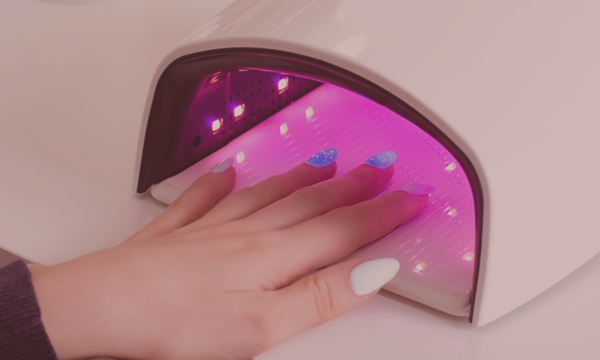
A comprehensive guide to professional builder gel: builder gel, self-levelling, strengthening, lengthening, no-file application, viscosity and colour selection with LuluNails Belgium.
Professional Builder Gel in Belgium: Which Builder Gel to Choose for Nail Lining, Extensions & No-File Applications? | LuluNails
Are you looking for a professional builder gel in Belgium to strengthen natural nails, apply a coating, create an extension or work more quickly with a self-levelling gel?
With options such as Builder Gel, self-levelling gel, no-file gel, Flexible Builder Gel, Milky, Nude, Cover or Clear gel, it’s not always easy to know which product to choose.
The best gel isn’t necessarily the thickest or the most expensive.
The right choice depends mainly on the technique you wish to use, your skill level, the length of your nails and the viscosity youmost comfortable working with.
In this comprehensive guide, LuluNails Belgium explains how to choose your builder gel for coating, extensions, fills and professional applications.
What is a nail builder gel?
Build-up gel is a UV/LED product used to create or reinforce the structure of thenail.
Unlike simple semi-permanent nail varnish, it allows for greater control over the nail’s shape.
In particular, it can be used to:
- strengthening the natural nail;
- applying a coating;
- creating an apex;
- correcting certain shapes;
- carrying out an extension;
- working on a template;
- working with tips or capsules depending on the technique;
- carrying out a fill;
- rebuilding the nail structure.
The gel is shaped before being cured under a compatible UV/LED lamp.
Construction Gel and Builder Gel: what’s the difference?
The terms Construction Gel and Builder Gel arefrequently used to refer to the same family of products.
“Builder” simply means “builder”.
A Builder Gel is therefore a gel used to build up and strengthen the nail.
However, the products available on the market can have very different textures.
You may come across:
- Fluid Builder Gel;
- Thick builder gel;
- Self-levelling gel;
- Builder Gel in a bottle ;
- No-file Builder Gel ;
- rigid builder gel ;
- more flexible gel ;
- Clear gel ;
- Nude Builder Gel ;
- Milky Builder Gel ;
- Cover Builder Gel.
The name alone is therefore not enough.
To make the right choice, pay particular attention to viscosity, flexibility, coverage and the manufacturer’s intended uses.
Which builder gel should you choose depending on the technique?
This is the most important point.
To strengthen natural nails
If your client wishes to retain her natural length, look for a gel suitable for coating and strengthening.
A self-levelling gel or a medium-viscosity builder gel can help create an even structure.
For a natural look, the following shades:
- Nude;
- Nude Pink;
- Cover;
- Milky
are particularly suitable.
To create length
To create more length, choose a gel suitable for length extensions.
Depending on the formulation, the extension can be applied using:
- templates;
- tips;
- capsules;
- popits or larger shapes.
A gel designed for extensions must allow for proper control of the material and enable the creation of a balanced structure.
To carry out a strengthening treatment
The strengthening treatment mainly involves reinforcing the natural nail without creating a long extension.
Gel is used to provide additional structure, particularly in the stress zone.
A strengthening treatment can look very natural when using a Builder Gel:
- Milky;
- Nude;
- Rose Nude;
- Cover.
You can then apply a semi-permanent nail varnish or simply leave the Builder Gel colour as it is.
For a top-up
As the natural nail grows, it is not always necessary to remove the entire build.
A refill allows you to work on the regrowth and rebalance the structure.
In particular, you need to:
- remove any detachments;
- reduce the old restoration if necessary;
- prepare the new build-up;
- reposition the material correctly;
- reconstruct the apex;
- check the structure;
- complete the placement.
An easy-to-control Builder Gel can make this stage more comfortable.
What is a self-levelling builder gel?
A self-levelling builder gel hasa texture that tends to smooth itself out naturally after application.
It can help to achieve a more even surface before curing.
The main advantage is that it saves time.
With the right technique, it can result in:
- fewer irregularities;
- less correction;
- less filing;
- faster application;
- a smoother surface.
However, ‘self-levelling’ does not mean that the product automatically creates a perfect apex.
The nail technician must always controlthe placement of the material.
No-File Construction Gel: how does it work?
The term no-file gel generally refers to a self-levelling gel that has beenwith sufficient precision that the surface requires little or no correction after curing.
The aim is to create a clean design straight away.
This can save a professional a considerable amount of time.
However, technique remains important.
Before applying the catalyst, the following must be checked:
- the apex;
- the cuticle area;
- the parallel lines;
- the free edge;
- the overall balance of the nail.
If the build is incorrect, it is best to make a correction.
‘No filing’ does not therefore mean ‘no checking’.
Self-levelling gel or thick gel: which to choose?
Both can be worthwhile.
Self-levelling gel
It smooths out more easily.
It is particularly suitable for people looking for:
- speed;
- an even finish;
- coating;
- work with less filing.
However, you need to be able to control the material before it spreads towards the cuticles.
Thicker gel
A higher viscosity can offer greater control during certain builds.
The product generally stays in place more easily where it is applied.
This maybe of interest for:
- extensions;
- more technical designs;
- shape correction;
- precise work;
- longer lengths.
The right choice therefore depends very much on your technique.
Which viscosityshould you choose for a Builder Gel?
The viscosity corresponds to the gel’s fluidity.
Viscosity
The gel spreads quickly.
It can be very quick to work with but requires a certain level of skill.
Medium viscosity
This is often a good compromise between self-levelling and control.
It can be useful for both professionals and those still learning.
Thick viscosity
The product stays in place better.
It can make certain designs easier but sometimes requires more work with the brush.
For a beginner, an extremely runny gel can be more difficult to control around the cuticles.
Builder gel in a pot or builder gel in a bottle?
These two formats cater to different needs.
Builder gel in a pot
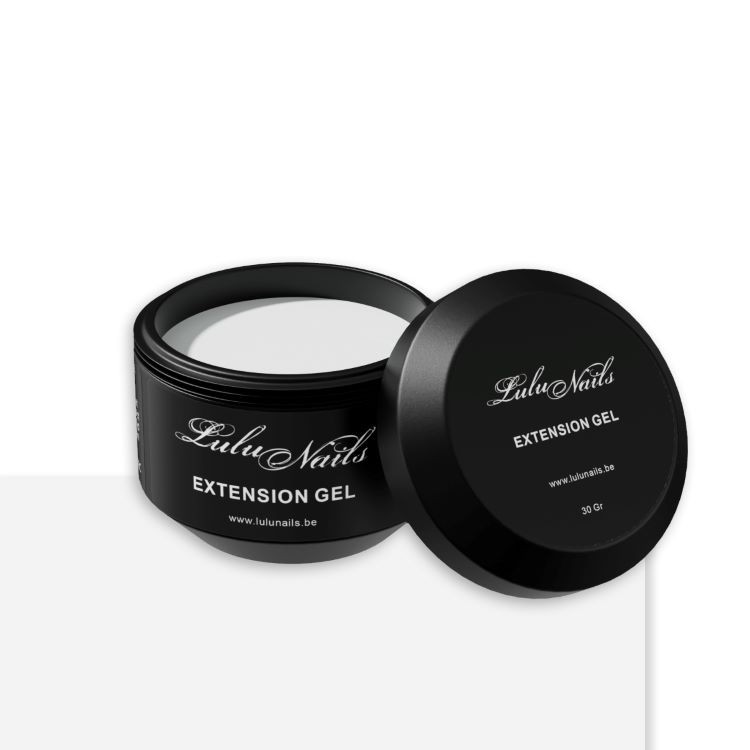
The gel in the pot is applied using a separate brush.
This allows you to control the amount of material used and is particularly suitable for traditional techniques.
It is useful for:
- extensions;
- lining;
- templating;
- filling;
- architectural work.
Builder Gel in a bottle
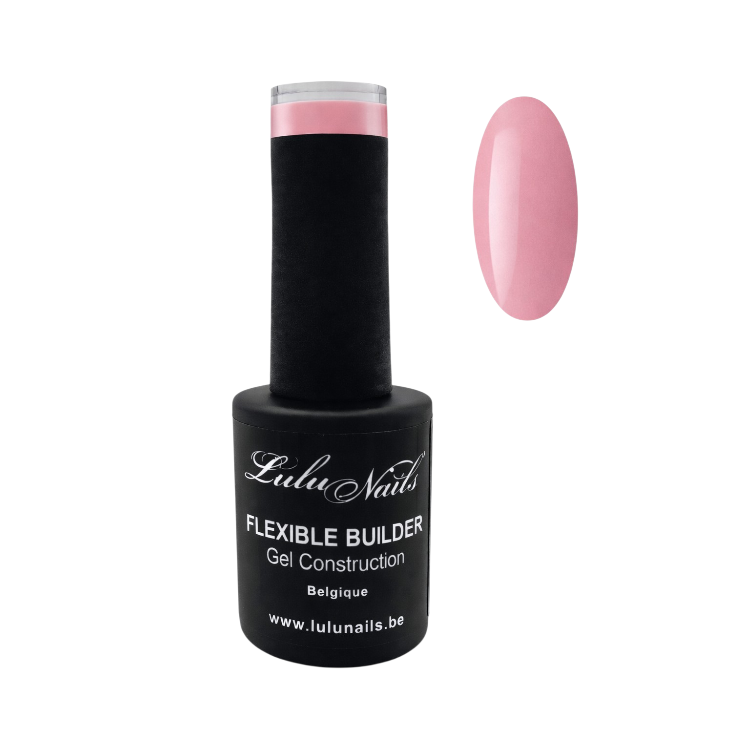
The Builder Gel in a Bottle has a built-in brush.
It is used more like a semi-permanent nail varnish.
It is particularly handy for:
- natural nails;
- coating;
- short applications;
- reinforcements;
- quick touch-ups.
LuluNails also offers a Flexible Builder Gel in a bottle category for this type of work.
Which colour of Builder Gel should you choose?
The colour has a significant influence on the final result.
Clear Builder Gel
Clear is extremely versatile.
It is particularly useful:
- under a semi-permanent polish;
- for certain inlays;
- when you want the natural nail to show through;
- for builds intended to be completely covered.
Milky Builder Gel
The Milky creates a soft, milky-white effect.
It is particularly popular for:
- Milky Nails;
- French Manicure;
- Baby Boomer;
- natural manicure;
- wedding manicure;
- Clean Nails.
It can sometimes be worn on its own with just a top coat.
Nude Builder Gel
Nude is ideal for achieving a very natural look.
Depending on the shade, it can bebe beige, pinkish or slightly caramel-coloured.
A Nude Builder Gel is perfect for:
- natural-looking nails;
- French manicure;
- Baby Boomer;
- coating;
- as a base for nail art.
Cover Gel: why use it?
The Cover Builder Gel generally provides greater coverage.
In particular, it helps to visually even out the nail plate This can be useful for: The LuluNails range includes several colours of professional UV/LED Builder Gel. In particular, you’ll find: A milky shade for natural, French, Baby Boomer and elegant tip extensions. A versatile base that can be covered with any colour of semi-permanent nail polish. A natural pink suitable for subtle manicures and nude nail designs. A warmer nude shade for a natural, modern finish. A particularly versatile opaque shade for evening out the nail plate and applying various building techniques. LuluNails gels are available in different sizes so you can choose a quantity suited to how often you use them. LuluNails builder gels are formulated without HEMA or TPO. This formulation is now an important criterion for many professionals and clients. However, “HEMA- and TPO-free” does not mean “allergy-free”. All UV/LED products must be applied correctly. It is essential to: Good technique remains essential. The exact procedure always depends on the product used, but the main steps are generally as follows. Gently push back the cuticles. Remove any dead skin from the nail plate. Shape the free edge as desired. Lightly mattify the nail plate according to your procedure. Carefully remove any dust. Depending on the system used, apply one of the following: Always follow the manufacturer’s instructions. Depending on the Builder Gel chosen, a Base Coat or a thin layer of the product may be required. Apply a thin layer, taking care not to touch the skin. Apply the required amount of gel. Spread the gel to create a balanced structure. The product should remain thin around the cuticles whilst providing sufficient material in the area requiring reinforcement. Theapex is the structural point that allows the nail to be strengthened. Its positioning depends in particular on: On a short extension, it is generally relatively inconspicuous. Place the nail under a lamp compatible with Builder Gel. Strictly adhere to the curing time specified for the product. Curing depends in particular on: &Avoid working with excessively thick layers. After polymerisation, examine the nail: Check the apex, the parallel lines and the free edge. Make corrections as necessary. You can then apply a semi-permanent top coat that is compatible. If you like the natural colour of the Builder Gel, you can also leave the gel visible and simply finish with a suitable top coat. There can be various causes of lifting. The most common are: Invisible cuticles or residue on the nail plate can compromise adhesion. The gel must not come into contact with the cuticles or the sides. A gel that is too rigid or too flexible for certain nail types may not be ideal. An unbalanced structure can create too much stress. An unsuitable lamp or insufficient curing time may prevent Applying too much product can also hinder the curing process. During polymerisation, some gels may generate a sensation of heat. This sensation may be influencedby, amongst other things: Applying a very large amount of gel in one go may increase the sensation of heat. If your lamp has a ‘Low Heat’ setting compatible with your protocol, this may be useful depending on the product used. Both builder’s gel and Acrygel can be used to build the nail structure, but they behave differently.
It canself-levelling and may shift slightly before curing. It remains more firmly in place and is worked with a suitable liquid and brush before polymerisation. The choice therefore depends essentially on the technique preferred by the nail technician. A Rubber Base and a Builder Gel do not serve exactly the same purpose. It is generally used for relatively light and flexible reinforcement. It allows for greater flexibility in working on: For a very short nail requiring only slight reinforcement, a Rubber Base may be sufficient. For more extensive building, Builder Gel is generally more suitable. A beginner should, above all, look for a product that is easy to control. I generally recommend prioritising: A Nude, Rose Nude or Milky shade also allows you to see the structure more clearly duringapplication. Start by mastering: Then move on to extensions and more complex designs. An experienced nail technician may find it useful to have several different textures at their disposal. For example: A self-levelling gel for quick applications. A more stable gel for designs requiring greater control. A Clear for layered applications and certain nail art designs. A milky gel for natural looks. A nude or cover for French manicures, Baby Boomer styles and natural manicures. There is therefore not necessarily just one “best builder gel”. A small, carefully selected range can be more effective than a single product used for all situations. For short natural nails, you should primarily choose a product suitable for coating. A medium-viscosity or self-levelling gel generally makes it easy to create a slight apex. The shades Nude, Rose Nude and Milky are particularly well-suited to this type of application. The longer the nails, the more important the structure becomes. For a long extension, choose a product specifically designed for this technique and stable enough to build the shape correctly. Masterycontrol of the template, the apex and the parallel lines then becomes essential. Builder Gel is particularly useful for these two techniques. A Nude, Cover or Pink Builder Gel allows you to create an even base before applying the white tip. A Nude or Cover Pink gel combined with a Milky white creates a smooth transition between the base and the free edge. These techniques can then be protected with a glossy top coat. A UV/LED gel must be cured using a compatible lamp. Do not choose your lamp based solely on the wattage indicated. You need to check: Proper polymerisation is essential for a professional application. LuluNails offers a range of professional builder gels in Belgium, designed for nail technicians, salons, trainees and enthusiasts. You’ll find, in particular: LuluNails builder gels are formulated without HEMA or TPO. LuluNails is a Belgian brand specialising in professional nail products, with a presence in Liège and an online shop accessible in Belgium. LuluNails has built its brand around the needs of professional nail technicians and enthusiasts. You can find the following in the same shop: ✓ Professional Builder Gel The aim is to be able to choose the right product for each technique rather than using the same gel for all applications. There is no single best gel for everyone. The choicedepends on the technique, the length, the desired viscosity and the nail technician’s skill level. In most cases, ‘Builder Gel’ is simply the English term for ‘construction gel’. The main differences relate primarily to viscosity, flexibility and intended use. A medium-viscosity gel or a self-levelling gel that is easy to controlis generally a good starting point for learning how to build up and shape nails. A builder gel designed for shaping or strengthening canbe used to create a lightweight structure on the natural nail. It is a gel that tends &smooth its surface naturally before curing, which can minimise unevenness and reduce the need for filing. This is generally a self-levelling gel that is sufficientlyto create a smooth surface without requiring significant filing after curing. Choose Clear if you plan to completely cover the build. Nude is ideal for a natural finish and French manicures. Milky is particularly well-suited to Milky Nails, Baby Boomer and milky manicures. Yes, provided the product is specifically designed for extensions. Always check the recommended uses for the Builder Gel in question. Yes. Builder Gel is commonly used to coat and strengthen natural nails when it is suitable for this technique. Rubber Base is generally intended for a lighter, more flexible strengthening. Builder Gel allows for more detailed work on theshape and the tip. Yes. A compatible semi-permanentcan be applied after the build, before the top coat. Possible causes include poor preparation, product on the skin, poor adhesion, incorrect shaping, an unsuitable product or insufficient curing. This can happen whenthe gel is too runny for your working speed or when too much product is applied in one go. The Nude, Rose Nude and Cover gels are particularly useful for creating the base of a French manicure. A Rose Nude or Cover base combined with Milky white makes an excellent combination. LuluNails builder gels are formulated without HEMA or TPO. As with all UV/LED products, it is essential to avoid contact between the uncured product and the skin and to follow the curing protocol. Would you like to create a nail wrap, strengthen the natural nail, create an extension or create a professional nail design? Discover the LuluNails Builder Gel collection. Choose from the following shades: Milky Natural – Clear – Nude Pink – Caramel Nude – Cover Pink and complete your manicure with LuluNails Base Coat, Top Coat, semi-permanent polishes, UV/LED lamps and professional accessories. Professional UV/LED builder gel – HEMA- and TPO-free – LuluNails Belgium.
Which LuluNails gel should you choose?
Milky Natural Builder Gel
Clear Builder Gel
Nude Pink Builder Gel
Nude Caramel Gel Build-up
Rose Cover Building Gel
HEMA- and TPO-free builder gel
How do you apply a builder gel?
1. Prepare the natural nail
2. Use the preparation products
3. Create a bonding layer
4. Build the nail
5. Create the apex
6. Cure under theUV/LED lamp
7. Check the structure
8. Apply colour
How can you prevent the Builder Gel from lifting?
Inadequate preparation
Gel on the skin
Incorrect choice of product
Incorrect structure
Incorrect curing
Layer too thick
Why does the builder gel sometimes get warm under the lamp?
Builder’s gel or Acrygel?
Builder gel
Acrygel / Polygel
Builder Gel or Rubber Base?
Rubber Base
Building Gel
Which builder gel should you choose when you’re just starting out?
Which builder gel should a professional choose?
Which builder gel is best for short nails?
Which gel should you use for long nails?
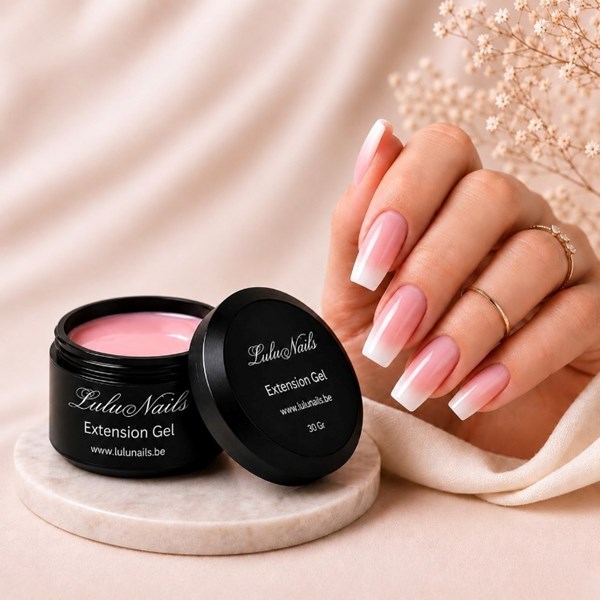
Builder Gel for French Manicures and Baby Boomer Nails
For a French
For a Baby Boomer
Which lamp should you use for builder gel?
Where can you buy Professional Builder Gel in Belgium?
Why choose LuluNails for your builder gels?
✓ Builder Gel
✓ Flexible Builder Gel
✓ Milky Gel
✓ Nude Gel
✓ Cover Gel
✓ Clear Gel
✓ Semi-Permanent Nail Polish
✓ Rubber Base
✓ Base & Top Coat
✓ UV/LED Lamps
✓ Nail Files & Bits
✓ Brushes and Accessories
✓ Nail courses &in LiègeFAQ – Builder Gel
What is the best Builder Gel?
What is the difference between Builder Gel and Gel de Construction?
Which Construction Gel should you choose to start with?
Which gel should you use to strengthen natural nails?
Whatis a self-levelling builder gel?
What is a no-file builder gel?
Which Builder Gel should you choose: Clear, Nude or Milky?
Can-can you create extensions using a Builder Gel?
Can Builder Gel be used on natural nails?
What is the difference between Builder Gel and Rubber Base?
Can semi-permanent nail varnish be applied over Builder Gel?
Why is my Builder Gel peeling off?
Why does the Builder Gel seep into the cuticles?
Which gel should I choose for a French manicure?
Which gel should I choose for a Baby Boomer manicure?
Do LuluNails builder gels contain HEMA or TPO?
Discover LuluNails Belgium Builder Gels