Would you like to get started in nail care? Discover the essential equipment you’ll need to carry out your first gel or semi-permanent polish applications: a UV/LED lamp, files, gels, base coats, brushes and hygiene products, with advice from LuluNails in Liège.
What equipment do you need to get started in nail care?
Would you like to learn how to apply artificial nails, work from home or start training as a nail technician? Before you get started, it’s essential to choose the right equipment.
There’s no need to buy dozens of products or every available colour straight away. To get off to a good start, it’s best to invest in a selection of professional products that are compatible with one another and genuinely useful.
In this guide, LuluNails Belgium, a Belgian brand, wholesaler of professional products and training centre in Liège, presents the essential equipment you’ll need to get started in nail care.
You’ll discover, in particular:
- the equipment needed to prepare the natural nail;
- essential products for semi-permanent nail varnish;
- equipment for a ;
- health and safety equipment;
- useful accessories for working properly;
- mistakes to avoid when putting togetherputting together your first kit.
What equipment should you prioritise buying to get started ?
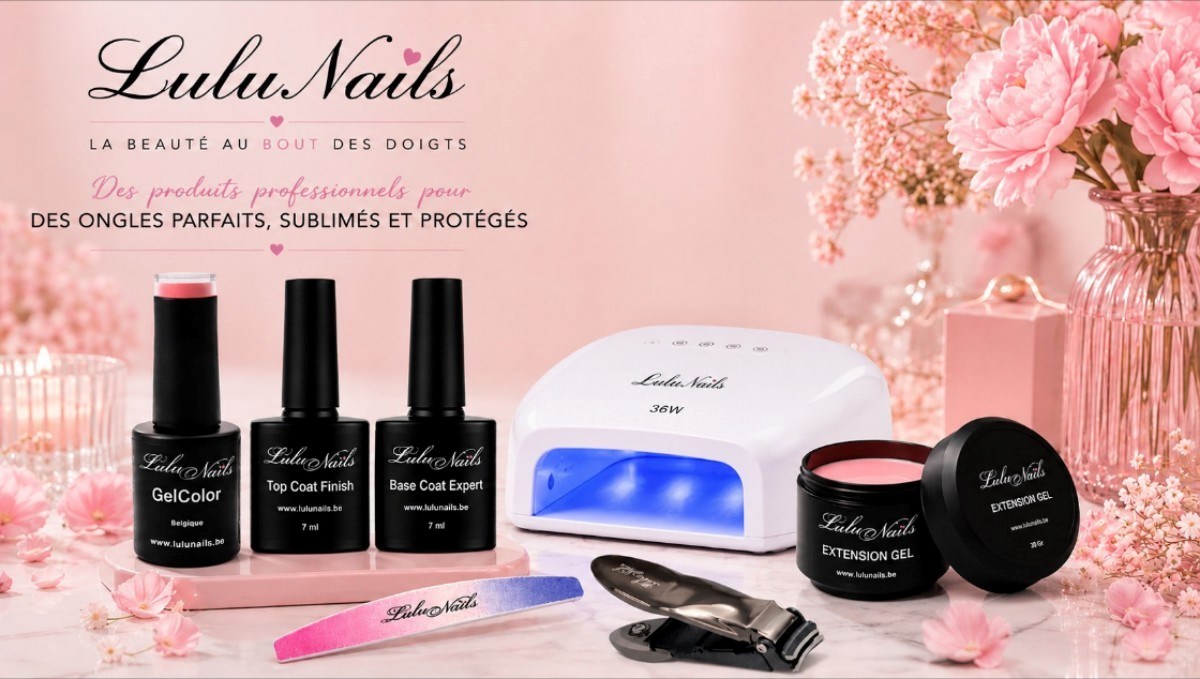
To get off to a good start in nail care, your initial kit should include several categories of products:
- a UV/LED lamp;
- preparation products;
- a Base Coat;
- a gel, a rubber base or a semi-permanent polish;
- a top coat;
- files and buffing blocks;
- suitable brushes;
- cuticle care equipment;
- hygiene and disinfection products;
- removal equipment.
The exact list depends on the technique you wish to learn.
A beginner wishing simply apply semi-permanent nail varnish will not need the same equipment asa future nail technician wishing to work with builder gel and extensions.
1. A professional UV/LED lamp
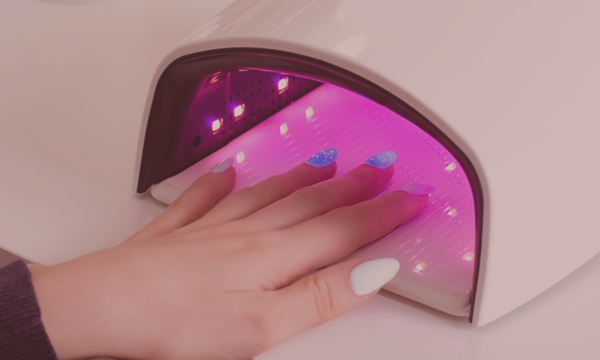
The UV/LED lamp is one of the first pieces of equipment you should buy. It is used to cure light-curing products such as:
- semi-permanent nail polish;
- Base Coat;
- Top Coat;
- Rubber Base;
- the Builder Gel;
- the builder gel;
- Acrygel, depending on the protocol used.
Without a compatible lamp, the products may remain soft, come unstuck or fail to cure properly.
How to choose your UV/LED lamp?
To get started, opt for a lamp that is:
- compatible with both UV and LED;
- sufficiently powerful;
- equipped with several evenly spaced LEDs;
- large enough to fit your whole hand;
- fitted with a timer;
- easy to clean;
- suitable for the gels used.
A lamp that is too weak or unsuitable may result in incomplete curing. It is therefore preferable to choose professional-grade equipment rather than a small auxiliary lamp.
Curing time
The time depends on the product and the lamp. Some LuluNails products can be cured in approximately:
- 60 seconds under an LED lamp;
- 120 seconds under a UV lamp.
Always follow the instructions provided on the product in question.
2. Equipment forthe natural nail
A successful application begins before the gel or colour is applied. Preparing thenatural nail is essential to improve adhesion and minimise lifting.
Nail files
Nail files are used to shorten the nail, shape it and file the nail surface.
You can choose from a range of grit sizes:
- a fine grit for natural nails;
- medium-grit for shaping the gel;
- coarser grit for removing or correcting thick material.
You must not use a file that is too abrasive directly on the natural nail, as this may weaken it.
The polishing block
The polishing block, also known as a buffer, is used to gently remove the natural shine from the nail.
It helps to create a surface better suited to adhesion, without resorting to aggressive filing.
The dust-removal
After filing, dust must be carefully removed.
A dusting brush can be used to clean:
- the surface of the nail;
- the edges;
- the cuticles;
- the underside of the free edge.
A dusty surfacedusty surface can reduce the durability of the manicure.
3. Tools for cuticle care
Proper immediately improves the final look of the manicure.
The cuticle pusher
The cuticle pusher helps to free the nail plate and gently push back the cuticles.
A stainless steel model is idealfor regular use, provided it is properly cleaned and disinfected between uses.
The cuticle nippers
The nippers are designed to remove only the small pieces of dead skin that come away around the nail.
They must be used with care. Do not cut the cuticles excessively, nor use them on an irritated or injured area.
Cuticle sander bits
Professionals can use suitable diamond-tipped bits to shape the contours and clean the nail plate.
However, this technique requires training and good controlof the nail file. Incorrect use may injure the client or damage the natural nail.
4. Nail preparation products
Preparation products help ensure the adhesion and longevity of the manicure.
Nail Prep
Nail Prep helps to temporarily dehydrate the surface of the natural nail and &remove any moisture or oils.
It is generally appliedgenerally applied in small quantities before the Base Coat.
The Primer
The Primer promotes adhesion between the natural nail and the product.
Depending on the type of nail and the system used, it may be:
- acid-based;
- acid-free.
For a beginner, an acid-free primer is often easier to incorporate into a standard routine. It should be applied sparingly and must not come into contact with the skin.
The Cleaner
The Cleaner can be used to clean the nail and, depending on the product, to remove the sticky layer after curing.
However, not all top coats produce a sticky layer. Some are designed to give a residue-free finish.
5. The Base Coat: essential for adhesion
The Base Coat is applied after preparing the natural nail.
It createsa bond between the nail and the product applied next. It can be used before:
- semi-permanent nail varnish;
- a Rubber Base;
- certain builder gels;
- a suitable reinforcement.
If the layer is too thick, it may run towards the cuticles. To begin with, apply a thin, even layer, avoiding contact with the skin.
Which Base Coat should you choose?
Choose a Base Coat:
- compatible with your colours and gels;
- easy to apply;
- suitable for the type of nails being worked on;
- offers good adhesion;
- part of a coherent professional system.
The use of incompatible products from very different systems can sometimes cause lifting or uneven adhesion.
6. Top Coat to protect the manicure
The top coat is the finishing layer applied at the end of the manicure.
It helps to:
- protect the colour;
- im&improve scratch resistance;
- add shine;
- achieve a matt finish;
- maintain the neat appearance of the application.
Glossy or matt top coat?
For your first kit, a glossy top coat isthe most versatile choice.
You can then add:
- a matt top coat;
- a glitter finish;
- a milky-effect top coat;
- a special nail art finish.
Remember to coat the free edge to protect the tip of the nail.
7. Equipment you’ll need to get started with semi-permanent nail varnish
Semi-permanent nail varnish is often the first technique learnt by beginners. It requires less building up than a gel application, but stillprecise preparation.
The basic kit for semi-permanent
To carry out a full application, you will need:
- a UV/LED lamp;
- a soft file;
- a polishing block;
- a cuticle pusher;
- a dusting brush;
- a nail prep;
- a primer if necessary;
- a base coat;
- several semi-permanent nail polishes;
- a top coat;
- cleaner;
- lint-free cotton pads or squares;
- removal tools;
- cuticle oil.
Which colours should you buy to start with?
It’s’s no need to start with 100 colours.
An initial selection might include:
- a classic red;
- a nude pink;
- white;
- black;
- a natural beige;
- burgundy;
- pastel pink;
- a seasonal colour;
- a glittery shade.
These colours already meet many requirements.
8. Rubber Base to strengthen natural nails
Rubber Base is a more flexible and generallynaturally thicker than a standard Base Coat.
It can help to:
- strengthen natural nails;
- correct minor imperfections;
- apply a light;
- create a subtle curve;
- improve the strength of thin nails.
Clear or coloured Rubber Base?
The clear Rubber Base is mainly used as a base coat or to strengthen the nails.
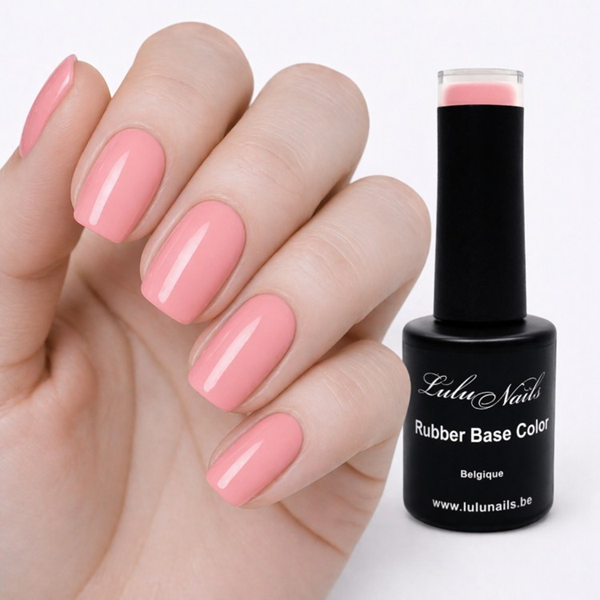
The Rubber Base Colour combines a strengthening base with colour. It is particularlyvery practical for nude, natural or quick manicures.
To start with, a nude or natural pink Rubber Base is a versatile choice. It can êbe worn on its own or used as a base for a French manicure.
9. Essential equipment for getting started with gel
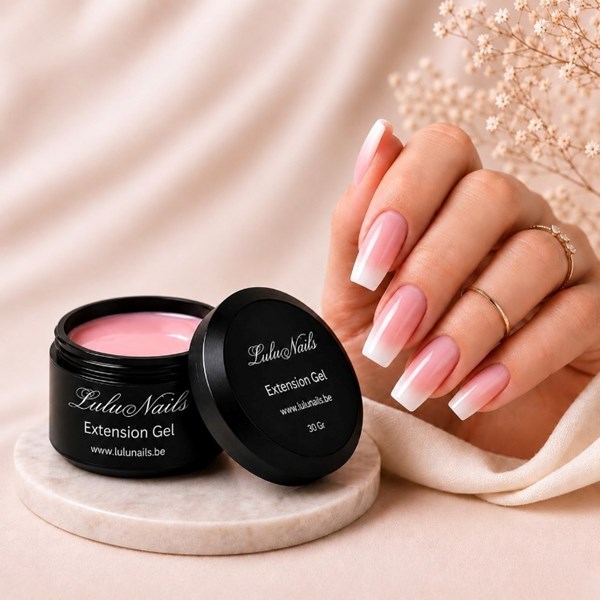
Builder gel is used to strengthen natural nails, create a shape or apply extensions.
This technique requires more precisionprecision than semi-permanent nail varnish.
Builder gels
You can start with a few essential shades:
- clear gel;
- nude gel;
- pink gel;
- Milky gel;
- Cover gel.
You don’t need to buy all the different viscosities straight away. Start by choosing a self--levelling gel that’s easy to master and suits your technique.
Jar gel or builder gel in a bottle?
Gel in a pot is applied with a separate brush. It often offers good control for building and extensions.
Builder Gel in a bottle has a built-in brush. It is handy for:
- coating;
- strengthening exercises;
- minor corrections;
- quick applications on natural nails.
A beginner may prefer the Builder Gel in a bottle for its ease of application, whilst a gel in a pot will be useful for learning a more comprehensive build.
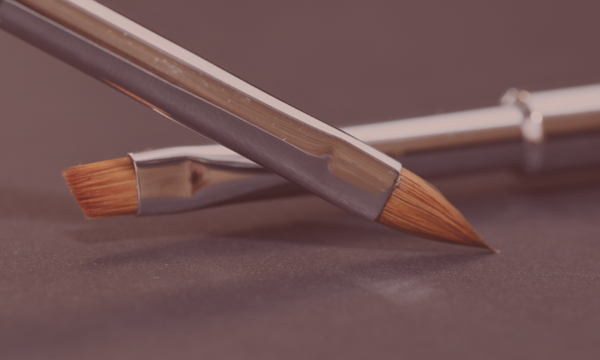
The gel brush
To work with gel from a pot, you’ll need a suitable brush.
Choose a brush:
- flat or slightly rounded;
- medium-sized;
- with evenly spaced bristles;
- intended for use with gel only.
After use, do not systematicallyclean the brush with products that are too harsh. Remove any excess product and store it away from UV light.
10. Equipment for applying extensions
If you wish to extend your nails, you’ll need to choose an extension method.
Traditional tips
The tips are gluedto the free edge and then covered with gel.
You will need:
- capsules of different sizes;
- professional-grade glue;
- a nail clipper;
- a nail file;
- a builder gel;
- a brush.
Templates
Stencils allow you to build the extension directly without gluing on a tip.
Thismethod requires:
- high-quality templates;
- a suitable gel;
- correct positioning;
- a good grasp of architecture;
- precise imaging.
American capsules or Soft Gel Tips
Full-coverage capsules cover the entire nail plate and allow extensions to be applied more quickly.
They require a specific procedure, a compatible base coat or setting gel, and a suitable lamp.
For a complete beginner, it is best to learn each method with a trainer before using it on clients.
11. Is a sander essential when starting out?
A sander isn’t always essential for your very first applications. It is possible to work with manual files, particularly during thelearning stage.
However, a professional sander quickly becomes useful for:
- removing material;
- filling in gaps;
- correct the structure;
- refine the outlines;
- save time;
- prepare certain areas using suitable bits.
How to choose a sander?
A good sander should offer:
- adjustable speed;
- a comfortable handle;
- low vibration;
- adjustable direction of rotation;
- suitable power;
- compatible bits;
- stable and consistent operation.
The sander must be used with care. A high speed does not automatically mean faster or more professional work.
Essential attachments
Attachments can be made from:
- diamond;
- ceramic;
- carbide;
- suitable metal;
Each shape and grit size has a different function. Training is recommended to learn the correct pressure, speed, direction of rotation and areas to avoid.
12. The dust extractor
Filing gel nails produces a significant amount of dust. A nail dust extractor improves working comfort and keeps your workspace clean.
It helps to collect some of the particles generated during:
- filing;
- removal;
- filling;
- correction of the structure.
If you work regularly or receive clients, a vacuum cleaner is highly recommended.
However, it does not replace the cleaning and disinfection of the table between each client.
13. Hygiene and disinfection equipment
Hèhygiene is an essential part of the nail technician’s profession. It must never be regarded as optional.
Basic equipment
You will need, in particular:
- a hand sanitiser;
- a suitable surface disinfectant;
- a suitable product for the equipment;
- gloves where the situation requires it;
- masks suitable for the work being carried out;
- single-use hand towels;
- lint-free wipes;
- a bin nearby;
- clean boxes for storing tools.
Cleaning, disinfection and sterilisation
These three terms are not the same.
Cleaning removes visible dirt and residues. Dis&isinfection reduces the number of micro-organisms using a suitable product. Sterilisation follows a specific protocoland requires equipment designed for this purpose.
Reusable instruments must be processed in accordance with their material and their intended use. Single-use consumables must not be reused on multiple clients.
14. Useful small accessories
Some accessories may seem minor, but they make the job much easier.
You can add the following to your kit:
- wooden sticks;
- removal clips;
- hair rollers;
- lint-free cotton pads;
- a nail art palette;
- fine brushes;
- a dotting tool;
- a wrist rest;
- a table lamp;
- a colour chart;
- gloves;
- a storage&storage box;
- cuticle oil.
The colour chart is particularly useful for showing colours to clients without having to open every bottle.
15. The equipment needed to remove a manicure correctly
Removal is just as important as application. Ripping off the polish or gel can weaken thenatural nail.
For removal using a remover
Depending on the product used, you will need:
- a nail file to remove the finish;
- a suitable removal product;
- cotton pads;
- strips or clips for removal;
- a product pusher;
- a soft polishing block.
For removal by filing
You will need:
- suitable files;
- &possibly a sander;
- suitable bits;
- a dusting brush;
- a vacuum cleaner.
Do not remove all the material too aggressively. The aim is to preserve the natural enamel.
16. Do you need to buy a complete kit toget started?
A kit can be an excellent solution, provided its contents are well-chosen.
The benefits of a kit
A well-designed kit allows you to:
- toget all the essential products in one go;
- &d’&avoid forgetting certain items;
- to use compatible products;
- to reduce the co&compared to buying items separately;
- to follow a complete protocol more easily.
Check the contents of the kit
Before buying, check that the kit actually contains:
- a suitable lamp;
- a Base Coat;
- a top coat;
- colours;
- preparation products;
- files;
- accessories;
- a gel or Rubber Base suited to your needs.
Some very cheap kits contain lots of accessories, but few products that are actually useful or professional-grade.
17. Mistakes to avoid when buying equipment
Buying too many colours straight away
Start with classic colours and gradually expand your collection as demand grows.
Mixing too many brands and systems
Incompatibilitiesbetween products can cause problems with curing, finish or adhesion.
Choosing solely on the basis of price
A very low price may conceal a poor-quality lamp, imprecise brushes or products that are difficult to work with.
Neglecting hygiene
Disinfectant, consumables and equipment maintenance are all part of the initial budget.
Buying a nail file without learning how to use it
A nail file is useful, but it can damage the natural nail if not used properly.
Using products without consulting the available information
Check the instructions, ingredients, curing time andprecautions for use before application.
18. How much should you budget to start a nail salon?
The budget varies depending on the technique, the quality of the equipment and your objectives.
Someone who simply wants to apply their own semi-permanent nail polish will needless equipment than a future professional who will be seeing clients.
In particular, the budget should take into account:
- the lamp;
- preparation products;
- gels and colours;
- files and consumables;
- hygiene equipment;
- furniture;
- the vacuum cleaner;
- the sander;
- training.
It is best to start with fewer products, but to choose professional-grade equipment that works well together.
19. Can you learn nail art on your own?
Videos and guides can help you learn the terminology, the products and certain steps. However, they are no substitute for practical training.
A training course enables you to learn:
- how to prepare the nail correctly;
- hygiene;
- application of the material;
- construction;
- the crown and theapex ;
- finishing ;
- extensions;
- filling;
- removal;
- using the sander;
- correcting mistakes.
It also allows you to receive personalised advice and understand why a floor covering may come unstuck, break or lack &runevenness.
20. Nail technician training for beginners in Liège
Would you like to learn how to use your equipment properly?
The training centre LuluNails in Liège offers training courses tailored to beginners and those wishing to improve their skills.
Depending on the course you choose, you can learn:
- how to prepare natural nails;
- applying semi-permanent nail varnish;
- strengthening;
- nail wrapping;
- gel application;
- extensions using capsules or templates;
- refills;
- the French Manicure;
- the Baby Boomer;
- modern shapes;
- professional application.
The equipment required for the course is available on site in accordance with the terms of the chosen package. Some courses are also offered with a kit so that you can continue practising afterthe course.
21. Why choose LuluNails Belgium?
LuluNails is a Belgian brand specialising in the world of nail care.
We support beginners, nail technicians and salons through :
- professional products;
- building gels;
- semi-permanent polishes;
- Rubber Base Colour;
- Flexible Builder Gels;
- Base Coats and Top Coats;
- UV/LED lamps;
- polishers and bits;
- professional accessories;
- starter kits;
- training courses in Liège.
Our aim is to offer solutions suited to both a first-time installation and professional use.
Checklist of essential equipment to get you started
Here is a simple list to keep in mind when making your first purchases.
Preparation
- Natural nail file
- Polishing block
- Cuticle pusher
- Dust brush
- Nail Prep
- Adapted primer
- Cleaner
- Lint-free pads
Application
- UV/LED lamp
- Base Coat
- Semi-permanent polishes
- Rubber Base or Builder Gel
- Builder gel, if required
- Glossy top coat
- Gel brush
- Nail art brushes
Extensions
- Capsules or stencils
- Professional-grade adhesive, if required
- Tip cutter
- Builder’s gel
- Styling tongs or accessories
Hygiene&/h3>
- Hand sanitiser
- Surface sanitiser
- Products suitable for treating tools
- Gloves
- Suitable masks
- Disposable hand wipes
- Table bin
Removal
- Compatible removal product
- Hair wraps or clips
- Suitable files
- Sander and bits, if you know how to use them
- Dust extractor
- Cuticle oil
FAQ: equipment to get started with nail art
What is the minimum equipment required to apply semi-permanent nail polish?
You’ll need at least a UV/LED lamp, a soft nail file, a polishing block, a cuticle pusher, preparation products, a base coat, a colour, a top coat and removal kit.
Is a nail file essential for beginners?
No. Abeginner can start with hand files. A sander becomes useful for filling, corrections and regular removal of material, but it must be used with the correct technique.
Which lamp should you choose to get started?
Choose a professional UV/LED lamp that is powerful enough, fitted with evenly distributed LEDs and compatible with the products you’re using.
Should I buy a clear gel and a nude gel?
A clear gel is versatilefor building and making corrections. A nude or ‘Cover’ gel is useful for achieving a natural finish and concealing certainirregularities in the nail.
What is the difference between a Base Coat and a Rubber Base?
The Base Coat is mainly used to improve adhesion. The Rubber Base isgenerally thicker and more flexible, which allows it to slightly strengthen the natural nail.
How many colours should you buy to start with?
Around ten well-chosen colours are enough to start with. Optred, nude, pink, white, black, burgundy and a few seasonal shades.
Can you work from home with a starter kit?
Yes, but you’ll also need a clean space, suitable lighting, hygiene equipment, secure storage and a system that allows you to work comfortably.
Is training necessary?
Training is strongly recommended to learn about hygiene standards, as well as the assembly, dismantling and correct use of products and equipment.
Conclusion
To get started with nail art, you don’t need to buy a complete set straight away. The essentials are a good UV/LED lamp, preparation products,a Base Coat, a Top Coat, a few colours, suitable nail files and hygiene equipment.
To work with gel, you’ll also need a builder gel, a brush, nail forms or tips and, as you progress, a nail file and a dust extractor.
The quality of the equipment matters, but technique remains essential. Professional training helps you to use each product correctly, to protect the natural nail and to create long-lasting manicures.
With LuluNails Belgium, a Belgian brand, wholesaler of professional products and training centre in Liège, beginners and professionals alike can find the equipment, products and support they need to develop their skills.