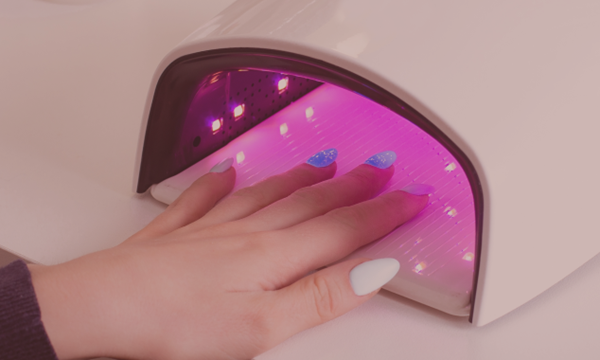
How do you apply nail tips using glue and gel? Discover the steps, the secrets to a beautiful manicure and LuluNails’ manicure inspiration.
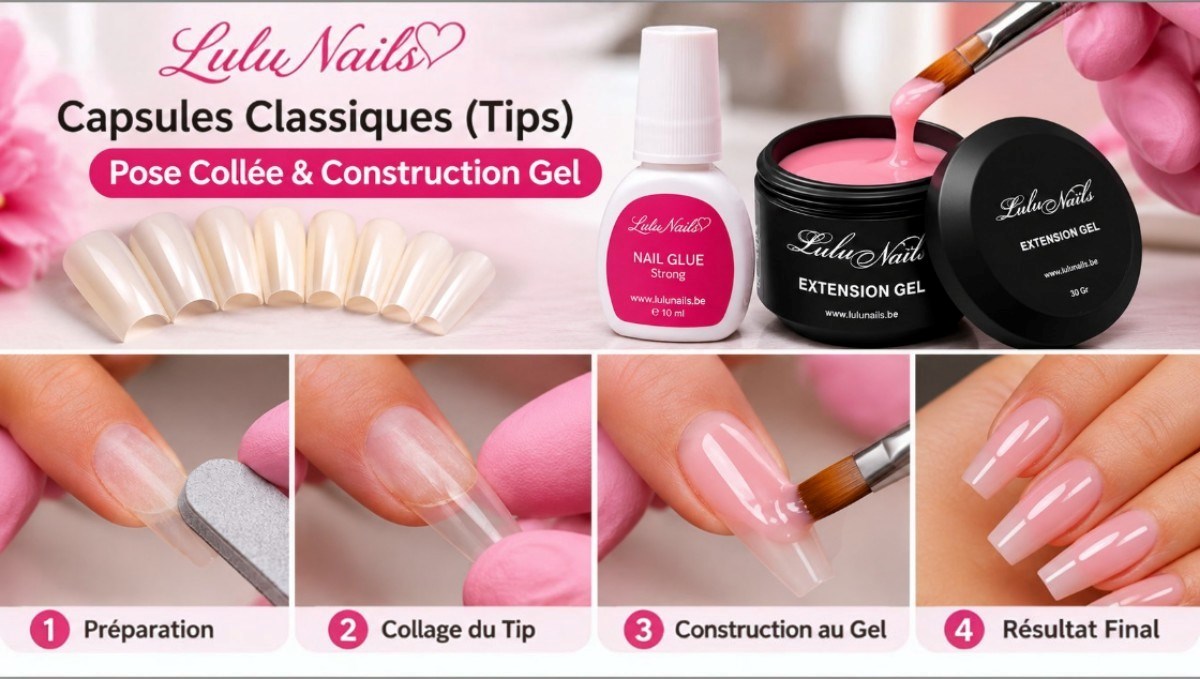
Applying Tips with Glue: Gel & Elegant Nails Tutorial
A beautiful manicure begins long before the colour is applied. Behind perfectly shaped almond-shaped nails, a delicate French manicure or a glossy nude finish lies an essential element: a properly applied extension.
Applying tips with glue is a classic nail extension technique that allows you to lengthen natural nails before creating a UV/LED gel build.
But how do you apply the tips without air bubbles? Which gel should you use? How can you prevent them from lifting and achieve a sleek, elegant finish?
Discover the LuluNails tutorial, the mistakes to avoid and some manicure inspiration to try.
1. What is the glue-on tip application method?
The glue method involves attaching a standard tip, also known as a tip, to part of the natural nail using a compatible professional-grade adhesive.
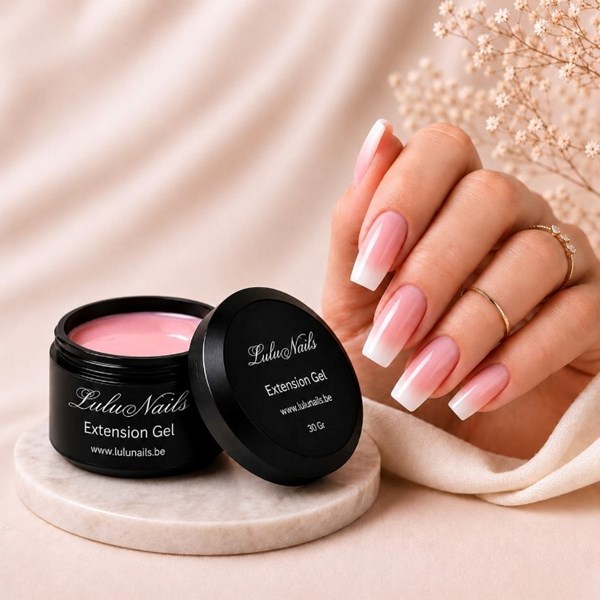
The tip allows you to create the desired length. A builder gel is then applied to shape the nail, strengthen the extension and achieve a harmonious finish.
This method allows you to create different shapes:
-
Almond: elegant and soft, it visually lengthens the fingers.
-
Short square: modern, minimalist and easy to pair with classic colours.
-
Coffin or ballerina: ideal for sophisticated manicures.
-
Oval: a natural and timeless choice.
The secret to a beautiful application lies not only in the adhesive, but in the combination of preparation, capsule fitting and build-up.
2. What equipment should you use for a gel-adhesive application?
To carry out a professional extension, prepare:
-
Some classic LuluNails tips.
-
A suitable nail file and buffer.
-
Nail preparation products.
-
A bonding base compatible with your chosen gel.
-
A compatible UV/LED lamp.
-
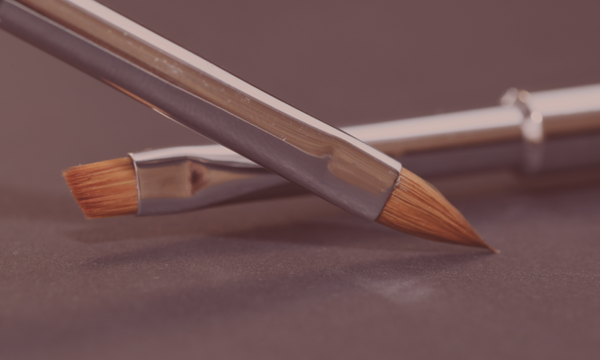
A builder brush.
-
A top coat for the finish.
The glue secures the tip. The Builder Gel is then used to build up and strengthen the extension: these two products serve different purposes.
3. Tutorial: how to apply tips using glue and gel?
Step 1 – Prepare the natural nails
Careful preparation ensures better adhesion.
Start by washing your hands and disinfecting the equipment in accordance with hygiene guidelines. Gently prepare the cuticle area without damaging the skin.
Remove any residue from the nail and lightly prepare its surface in accordance with the protocol for the technique being used.
Avoid excessive filing: this can weaken the natural nail plate.
The nail must be clean and dry before application.
Step 2 – Choosing the right size of tip
Select a tip that matches the natural width of each nail.
A tip that is too small may put pressure on the sides. A tip that is too large may extend beyond the natural nail and create an uneven finish.
Also check the curvature and alignment.
LuluNails tip: prepare all ten tips before you start applying them to ensure greater precision and consistency.
Step 3 – Apply the tip without air bubbles
Apply a controlled amount of professional-grade adhesive to the designated contact area.
Position the nail tip as designed and apply even pressure to spread the adhesive without trapping any air.
Hold it in place for the setting time specified by the manufacturer.
The adhesive must not spill over onto the cuticles or skin.
A visible air bubble under the tip may compromise its hold. It is better to correct the problem rather than continue with the application.
Step 4 – Adjust the length and shape
Once the tips are securely attached, trim them to the desired length.
Next, shape the sides, the free edge and the transition between the standard tip and the natural nail.
The transition must be smoothed out without removing too much material from the natural nail.
Check each extension from the front and side to ensure a balanced shape.
Step 5 – Build the structure using a Builder Gel
This is the step that transforms a glued-on tip into a structured extension.
Apply compatible bonding products, then use the appropriate builder gel.
Spread the material to create a uniform structure and an apex proportionate to the length of the nail.
The apex corresponds to the area where the structure is reinforced. Its position and volume must be adapted to the shape of the nail.
Cure each layer in accordance with the gel protocol and the lamp’s specifications.
Avoid any contact between uncured gel and the skin.
Step 6 – Create an elegant finish
After curing, check the shape and make any necessary filing adjustments.
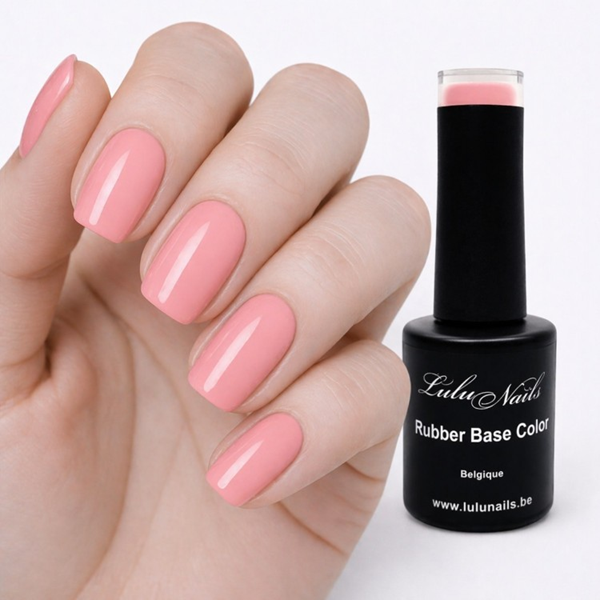
Apply your favourite colour from the LuluNails Gel Polish range, then cure according to the product instructions.
Finish with a compatible top coat to achieve a glossy or matt finish.
Your nail extension is ready for a natural manicure, a modern French manicure or sophisticated nail art.
4. Four ideas for elegant manicures on glued-on tips
Applying tips with glue provides an excellent base for customising the length and colour.
Milky Nude – Natural elegance
A milky nude on short almond-shaped nails creates a subtle and luminous manicure.
Combine a smooth build with a glossy finish for a refined look, inspired by the clean nails aesthetic.
Chocolate French – The couture detail
The traditional French manicure gets a modern twist with a hint of chocolate brown.
Choose a rosy nude base and paint a fine French tip to add contrast without overloading the manicure.
Intense Bordeaux – A bold manicure
Deep Bordeaux lends an elegant look to both short nails and almond-shaped extensions.
An even application and a glossy top coat highlight the intensity of the colour.
Rose Cacao – The sophisticated nude
Somewhere between powdery pink and dark chocolate, Rose Cacao adds a warm and refined touch.
This shade pairs particularly well with an oval or medium almond shape.
Discover the different colours available in the LuluNails Gel Polish collection.
5. Why do glued-on tips come unstuck?
A tip can come unstuck even when professional-grade glue is used.
Here are the most common mistakes:
Incorrectly sized tip: an unsuitable size or curve creates tension.
Inadequate preparation: the presence of dust, moisture or residue can reduce adhesion.
Bubbles under the cap: poor contact between surfaces weakens the bond.
Excess adhesive: spillage complicates application and may lead to unwanted contact with the skin.
Unbalanced construction: an extension that is too long or insufficiently structured is less able to withstand everyday stresses.
To improve hold, check each step rather than systematically adding more adhesive or gel.
6. Adhesive application or American application: what’s the difference?
These techniques should not be confused.
The classic adhesive application uses a tip that is usually attached to part of the natural nail, then covered with a suitable builder gel.
The American method uses a full-coverage tip, known as a Full Cover Tip, which is pre-shaped. It requires a bonding system suited to its composition.
For the LuluNails American application technique, use the LuluNails Base Coat Expert in accordance with its UV/LED curing protocol.
The professional adhesive used for standard tips does not automatically replace this bonding base.
To find out more about this alternative technique, see our LuluNails American Application Guide.
Applying tips with adhesive
Can you glue on tips and then apply UV gel?
Yes. Compatible standard tips can be glued on, then covered with a suitable builder gel to create the structure of the extension.
How long does a set with tips and gel last?
A set applied correctly can last several weeks. Its lifespan depends on the preparation, the design, natural regrowth and daily habits. Regular professional maintenance is still necessary.
Which adhesive should be used for standard tips?
Choose a professional adhesive specifically designed for compatible tips and capsules. LuluNails LuluNails nail glue with a brush allows for precise application, in accordance with the protocol for the specific product used.
Why does my tip come unstuck after a few days?
Check the preparation of the nail, the width and curve of the tip, the amount of glue used, whether there are any air bubbles, and the gel structure.
Is it essential to use gel after a standard tip?
For a standard tip extension intended to be built up with gel, the build-up stage is essential. Press-on false nails are a different system altogether, with their own set of instructions.
Can tips be applied to damaged nails?
Avoid applying them to a nail plate that is painful, injured, lifting or showing signs of infection. A proper assessment is required before any application.
How do you remove gel-bonded tips?
The method depends on the materials used. Some require the material to be reduced and controlled filing. Never tear off the tips: this could damage the natural nail.
8. LuluNails’ recommendations for a professional application
For beginners: opt for medium-length tips and a Builder Gel whose texture you are familiar with.
For a natural manicure: choose a Milky or Nude gel and a short almond shape.
For an elegant salon-style application: combine a carefully balanced structure with a subtle French manicure or a Bordeaux gel polish.
To learn the technique: a training course will teach you how to master bonding, nail architecture, hygiene, filing and removal.
Find out about LuluNails professional nail technician training courses in Liège.
Conclusion – Precision makes all the difference
A successful application of nail tips using glue relies on three elements: proper preparation, skilful bonding and a balanced build.
From Milky Nude to French Chocolat, this technique allows you to create modern, personalised manicures whilst developing the essential skills for working with gel.
With LuluNails, discover the tips, professional adhesives, builder gels and colours you need to create your next manicure.
Explore the world of LuluNails nail art at www.lulunails.be.
Professional advice: always follow the manufacturers’ instructions, curing times and safety precautions. Work on healthy nails, ensuring that uncured products do not come into contact with the skin.