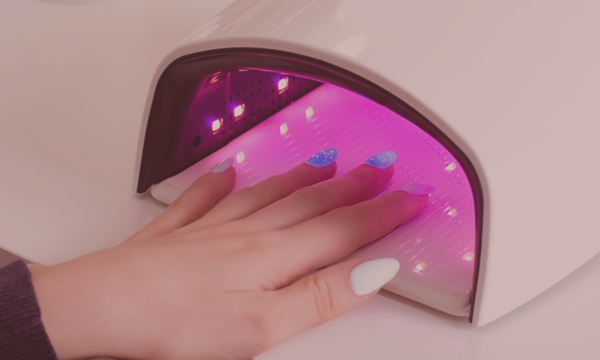
How many coats of semi-permanent nail varnish – 1, 2 or 3? Find out how many coats to apply depending on the colour – milky, nude, white or dark – with LuluNails Belgium.
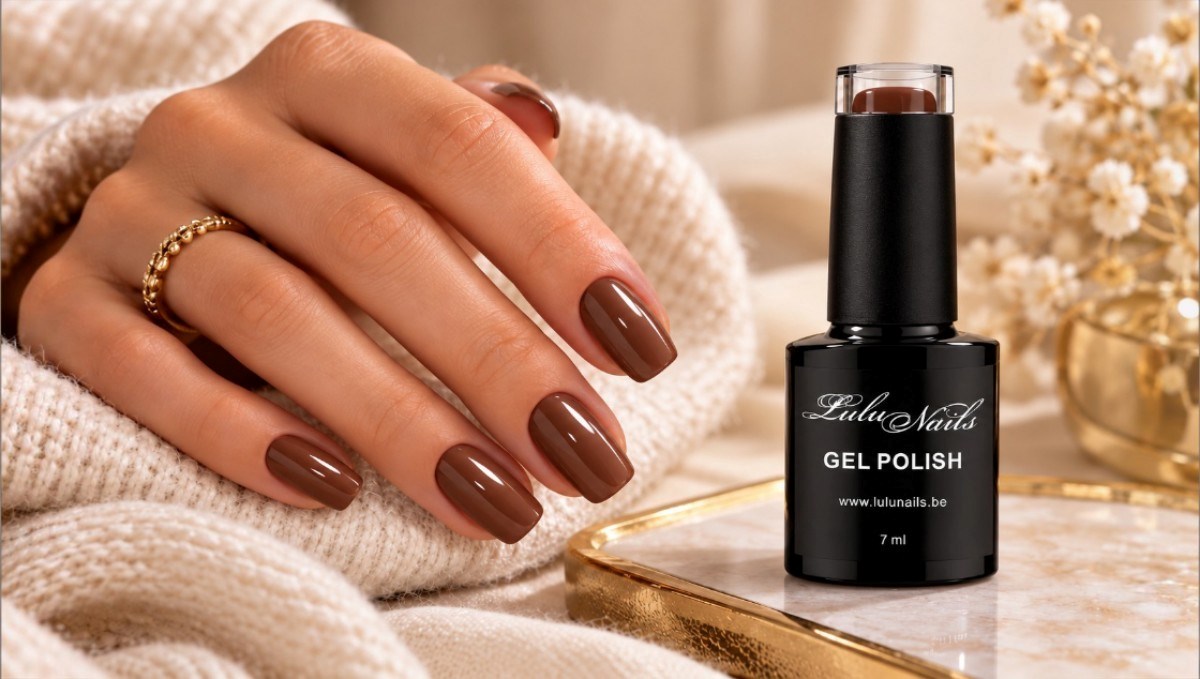
How Many Coats of Semi-Permanent Nail Polish Should You Apply? 1, 2 or 3? | LuluNails Belgium
One coat, two coats or three coats of semi-permanent nail polish?
This is a common question when you’re just starting out in nail art.
Some colours seem to provide perfect coverage from the very first application, whilst others, such as milky, nude, pastel or certain light shades, are deliberately more sheer.
So, should you apply more product?
Not necessarily.
To achieve an even finish, the priority is not to apply a lot of product, but to work with thin layers that are properly cured.
In this guide, LuluNails Belgium explains how many layers of gel polish to apply depending on the colour, pigmentation and the desired result.
How many coats of semi-permanent nail varnish should you normally apply?
In many cases, a colour application is carried out as follows:
Base Coat → 1st colour coat → 2nd colour coat → Top Coat
Two thin coats generally allow you to:
- even out the colour;
- intensify the pigmentation;
- to correct any slight transparency in the first coat;
- to achieve a more even finish.
However, this is not a hard and fast rule.
The number of coats depends, in particular, on:
- the colour;
- its pigmentation;
- the desired effect;
- the product used;
- the instructions for that particular product.
LuluNails already states in its guides that one or two coats may be necessary depending on the shade. LuluNails
Is a single coat of semi-permanent nail varnish enough?
Yes, in some cases.
A highly pigmented colour can often produce a satisfactory result with just one thin coat.
This may also be intentional with certain translucent shades.
For example, a single coat of:
- Milky;
- transparent nude;
- natural pink;
- translucent beige;
can create a very natural-looking manicure.
The result can be particularly attractive for:
- Clean Nails;
- French manicure;
- wedding manicure;
- a natural look;
- a lightly tinted base coat.
It is therefore not essential to aim for maximum opacity with every colour.
Why do we often apply two coats?
The first coat is mainly used to spread the colour.
It may appear:
- slightly transparent;
- less intense;
- uneven in certain areas.
This is normal with many shades.
The second coat then helps to boost the intensity and even out the finish.
First coat
Apply very thinly.
Do not necessarily aim for complete opacity.
Second layer
Correct the colour and achieve the final effect.
This method is generally preferable to a single, extremely thick coat.
Your current guide on varnish that wrinkles or shrinks already recommends two thin coats rather than one thick coat. LuluNails
Can you apply three coats of semi-permanent nail varnish?
A third coat should not be the automatic solution when a colour lacks opacity.
Before adding another coat, first check:
- whether the product is designed for this type of application;
- whether your first two coats were thin enough;
- whether the bottle has been properly shaken according to the instructions;
- whether the colour is intentionally translucent;
- whether your lamp is suitable for the product.
If the shade is designed to produce a milky or transparent effect, three coats will not necessarily turn the product into an opaque nail varnish.
Important
Applying more and more coats can create unnecessary thickness.
Therefore, follow the protocol corresponding to the exact Gel Polish used.
Why must the layers be thin?
This is essential.
A semi-permanent UV/LED gel polish must be properly cured under the lamp.
An excessively thick layer can, in particular, lead to:
- creases;
- ripples;
- shrinkage;
- an uneven surface;
- the product shifting;
- poor curing.
LuluNails has already published a comprehensive guide to problems with semi-permanent nail varnish that shrinks, creases or develops gaps. LuluNails
Why does semi-permanent nail varnish shrink, wrinkle or develop holes?
First clear coat: is this normal?
Yes.
It’s actually quite common.
The first coat does not necessarily have to look immediately like the final colour visible in the bottle.
Let’s take a burgundy shade.
First coat
The colour may appear slightly red or transparent.
Second coat
The burgundy becomes deeper and more even.
The same phenomenon may occur with:
- red;
- plum;
- chocolate;
- midnight blue;
- dark green.
Do not try to compensate by applying an excessive amount of product from the very first coat.
How many coats are needed for a Milky nail varnish?
The Milky colours are unique because their slight transparency is part of the finish.
1 coat
A very natural, translucent effect.
2 coats
The Milky effect is more visible whilst retaining a soft appearance.
The number of coats therefore depends more on the desired finish than on achieving complete opacity.
Milky polishes are particularly popular for:
- French manicure;
- Baby Boomer;
- Clean Nails;
- weddings;
- nude manicures.
Milky LuluNails Semi-Permanent Nail Varnish.
How many coats for white nail varnish?
White often requires greater precision when applying.
A coat that is too thick can result in an uneven finish.
The best approach is usually to apply:
a thin first coat
then, where the product specifies:
a second thin coat
Each coat must be properly cured before applying the next.
Do not try to achieve a perfectly opaque white by applying a large amount from the very first coat.
How many coats for a nude?
It depends on the type of nude.
Transparent nude
One coat can create a very natural effect.
Classic nude
Two coats usually give a more even finish.
Nude Cover
Some shades are designed to offer greater coverage.
With nude shades, the choice also depends on the desired result:
natural → slightly sheer
or
more opaque → more uniform colour
How many coats for a red or burgundy shade?
Red and burgundy shades can be highly pigmented.
However, even when a nail varnish appears to provide good coverage after the first coat, a second thin coat can help toachieve greater depth where the product instructions recommend it.
With dark colours, pay particular attention to the thickness.
Applying too much of a highly pigmented colour is not preferable to two carefully applied coats.
Why does my nail varnish leave streaks after the first coat?
Certain shades show brush strokes more clearly during the first application.
This can be particularly noticeable with:
- white;
- nude;
- pastel;
- milky;
- very light colours.
Do not keep going over the same area with the brush.
Apply the coat evenly, cure it properly, then check the result after the second coat.
The second coat can even out the colour.
How do you apply a thin coat correctly?
1. Control the amount of product on the brush
Do not dip the brush into the product with too much on it.
Wipe off any excess where necessary.
2. Place the product in the centre
Start spreading the colour without pushing a large amount into the cuticles.
3. Work your way towards the cuticles with precision
The uncured product must not touch the skin.
4. Spread towards the free edge
Spread the product evenly.
5. Check the sides
Check that there are no runs.
6. Cure
Place your hand under a compatible UV/LED lamp for the recommended time.
Do you need to cure between each coat?
Yes.
Each layer of semi-permanent nail varnish must be cured in accordance with the product’s instructions before applying the next one.
For example, the protocol is as follows:
Base Coat → cure
Colour 1 → cure
Colour 2 → cure
Top Coat → cure
Do not apply two layers of colour on top of one another before curing the first, unless specifically stated otherwise by the system being used.
Can the curing time be reduced because the layers are thin?
No.
A thin coat does not automatically mean that the curing time should be reduced arbitrarily.
Follow the product instructions.
Catalysis depends in particular on:
- the product;
- the photoinitiators used;
- the lamp;
- its technology;
- the recommended curing time.
Why are three thick coats a bad idea?
Applying too much product can result in an unnecessarily thick manicure.
The result may also appear:
- bulging;
- heavy;
- uneven;
- less natural around the cuticles.
If you need structure, applying multiple layers of colour is not the way to achieve it.
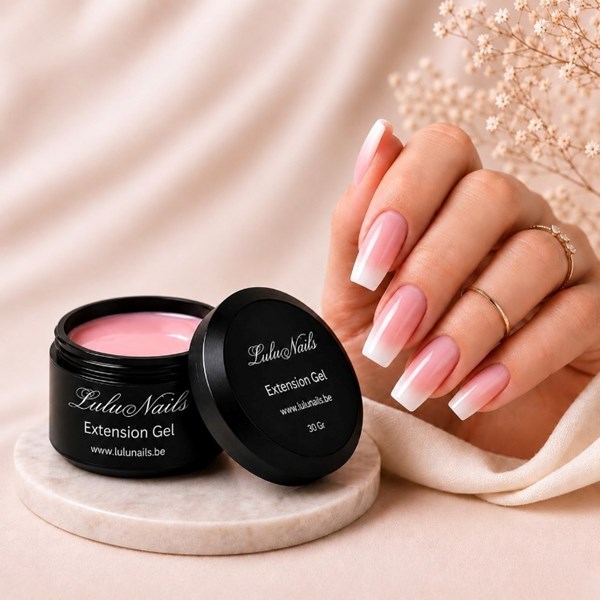
To strengthen or build up the nail, use a product designed for this purpose instead:
- Rubber Base;
- Flexible Builder Gel;
- Builder Gel;
- Construction Gel.
Then apply the Gel Polish as a coloured finish.
Semi-permanent polish and Builder Gel: how many layers?
On top of an existing Builder Gel base, the semi-permanent polish does not need to create the structure.
Its main function is to provide colour.
You can therefore apply thin layers after having properly prepared the surface according to your system.
Example:
Nude Builder Gel → colour → Top Coat
or:
Builder Gel → colour 1 → colour 2 → Top Coat
depending on the desired coverage and the product’s application protocol.
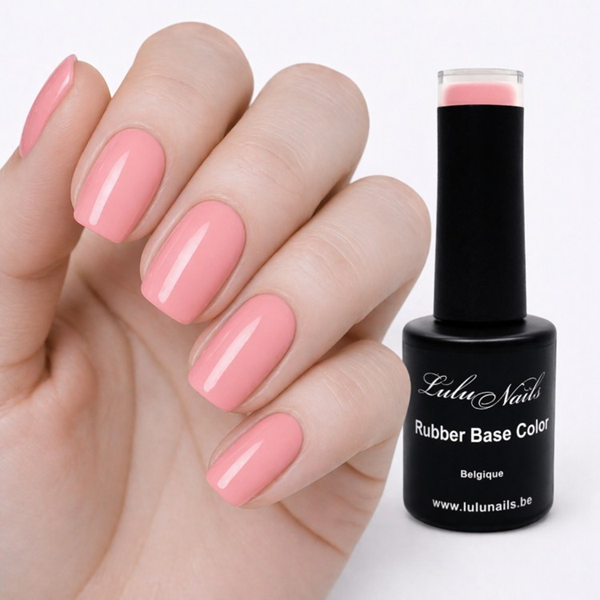
Rubber Base Colour: do you still need to apply two coats of colour?
Not necessarily.
A Rubber Base Colour already provides a tint.
You can therefore choose to use its colour directly when the product isintended for this use, then finish with the Top Coat as per the protocol.
You can also apply a Gel Polish on top if you want a different colour and the systems used are compatible.
Why does the polish run towards the cuticles during the second coat?
Possible causes include:
- too much product;
- brush too heavily loaded;
- runny colour;
- waiting too long before curing under the lamp;
- an uneven previous coat.
For a very runny colour, work in a controlled mannerand cure according to the protocol without allowing the product to spread unnecessarily.
How do you achieve an even colour?
Remember this method:
Step 1
Prepare the nail properly.
Step 2
Apply the appropriate base coat.
Step 3
Cure.
Step 4
Apply a first thin coat of colour.
Step 5
Cure.
Step 6
Apply a second thin coat if necessary.
Step 7
Apply the catalyst.
Step 8
Apply the top coat.
Step 9
Cure according to the protocol.
Simply adding more colour will not correct poor preparation or poor curing.
LuluNails Semi-Permanent Nail Polishes, HEMA- and TPO-free
The LuluNails collection is currently presented as comprising HEMA- and TPO-free semi-permanent nail polishes, designed for various techniques and colours. LuluNails
However, the label ‘HEMA-free’ or ‘TPO-free’ does not mean that a product is hypoallergenic or that no reaction can occur.
With all UV/LED products:
- avoid contact between the uncured product and the skin;
- remove any excess product before curing;
- follow the protocol;
- use a compatible lamp.
FAQ – Number of Coats of Semi-Permanent Nail Polish
Are two coats essential?
No. It depends on the product, the colour and the desired finish. Some shades may look good with just one coat, whilst others achieve a more even finish with two thin coats.
Can you apply three coats?
Only when the product and the desired result allow it. A third coat should not automatically be used to compensate for poor application.
Why isn’t my first coat opaque?
This is normal with many gel polishes. The first coat provides the base colour and the second can enhance its pigmentation.
Should I apply thick coats to get more colour?
No. Two thin coats are generally preferable to a single very thick coat. LuluNails already this method in its application guides. LuluNails
How many coats for Milky?
One coat generally provides greater transparency. Two coats produce a more pronounced milky effect, depending on the product.
How many coats for a nude polish?
One or two, depending on the transparency and the desired result.
Do you need to cure each coat?
Yes, each coat must be cured in accordance with the product’s instructions before applying the next one.
Why does my nail varnish crack when I apply two coats?
The problem may be due to thethickness of each coat, the amount of product used or the curing process. Two thin coats are not the same as two thick coats. LuluNails
Nail technician training courses in Liège
Discover LuluNails Belgium’s semi-permanent nail polishes
Find a wide selection of gel polishes at LuluNails Belgium:
Nude – Milky – Pink – Red – Burgundy – Chocolate – Plum – Blue – Green – Pastel – Cat Eye and many other colours.
Complete your manicures with:
Base Coat – Rubber Base – Builder Gel – Gel Construction – Top Coat – UV/LED Lamps – Nail Prep – Primer – Cleaner.