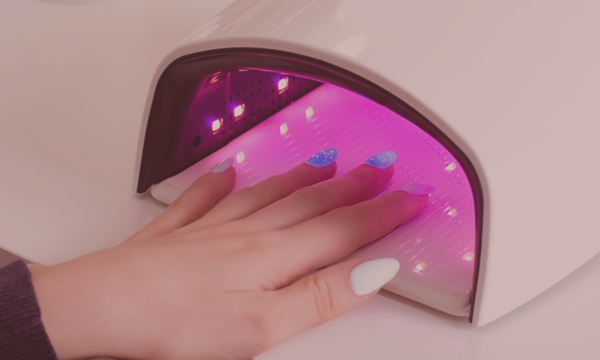
Find out how to create an apex using Builder Gel: positioning, structure, stress zone, thickness and mistakes to avoid. Professional guide from LuluNails Belgium.
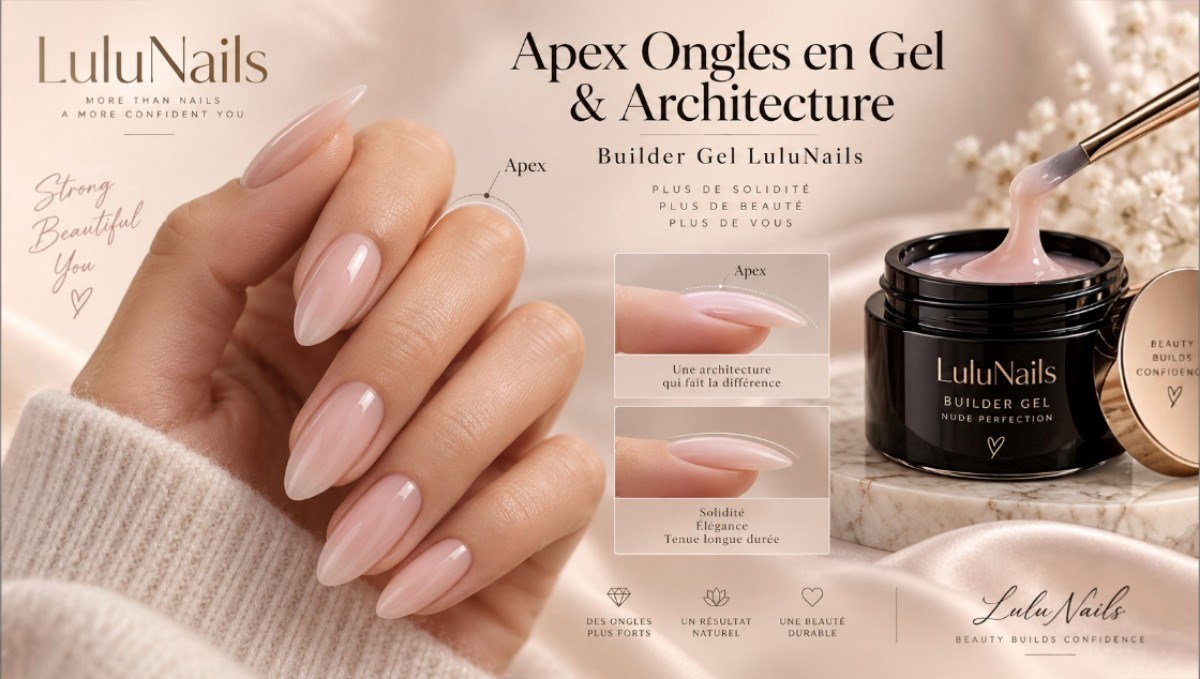
Apex Gel Nails: Where to Place It and How to Create a Good Structure with Builder Gel? | LuluNails Belgium
You often hear about the apex when applying gel nails, doing a wrap or building up nails with builder gel, but you’re not quite sure where to place it?
The apex is one of the essential elements of the structure of a gel nail.
It’s not simply a matter of creating a bump in the middle of the nail.
Its role is to distribute the material correctly in order to achieve a balanced, aesthetically pleasing and suited to the length of the nail.
In this LuluNails Belgium guide,find out what the apex actually is, where to place it, how to create it using builder gel, and what mistakes to avoid.
Quick Answer: What is the Apex of a Nail?
The apex is the main reinforcement area of a gel nail build.
It corresponds to the part where more material is applied to support the nail’s structure.
Its position depends in particular on:
- the length;
- the shape;
- the natural structure of the nail;
- the type of application;
- the stress zone.
An apex should therefore not be placed in exactly the samesame place on every application.
Why is the Apex Important?
A gel nail should not be the same thickness throughout.
The build should remain relatively thin:
near the cuticles,
on certain lateral areas,
and on certain parts of the free edge.
More material is applied to the areas requiring support.
It is this distribution process that creates a genuine nail architecture.
Applying a very thick layer everywhere does not necessarily result in a solid application.
The distribution of the material is more important than thickness alone.
Apex and Stress Zone: What’s the Difference?
The two terms are related but do not refer to exactly the same thing.
Stress Zone
The stress zone corresponds to a part of the nail that is under particular strain when it is subjected to pressure.
On a nail extension, this area is essential as it forms the transition between the natural nail and the built-up length.
Apex
The apex is the highest point of the nail extension.
The material is distributed around this area toachieve a coherent structure.
The apex must therefore be built taking into account the stress zone, the length and the shape.
Where should the apex be placed?
There is no single position that is universally valid for all nails.
It is a common mistake to think:
“The apex must always be exactly in the centre.”
Its position depends on the design.
Very short natural nails
On a short base, the apex can be very discreet.
You simply need to create enough structure to support the nail without turning the application into a thick build-up.
Medium-length nails
The reinforcement area becomes more visible.
The material must &be distributed gradually between the area near the cuticles, the apex and the free edge.
Long extensions
The longer the nails, the more carefully the structure must be considered.
An apex that is too flat or poorly positioned can throw the construction off balance visually.
The placement must therefore be adapted to the length achieved.
What Should a Good Apex Look Like?
Always examine a build from several angles.
Side view
You should see a gradual rise in the material up to the reinforcement zone, followed by a descent towards the free edge.
The build should not resemble a large bump added abruptly.
Top view
The sides must remain &balanced.
The material must not create a disproportionate or very wide nail.
Front view
Check the &thickness of the free edge and the overall symmetry.
A good structure must be consistent in all three dimensions.
How to create an apex using a gel builder?
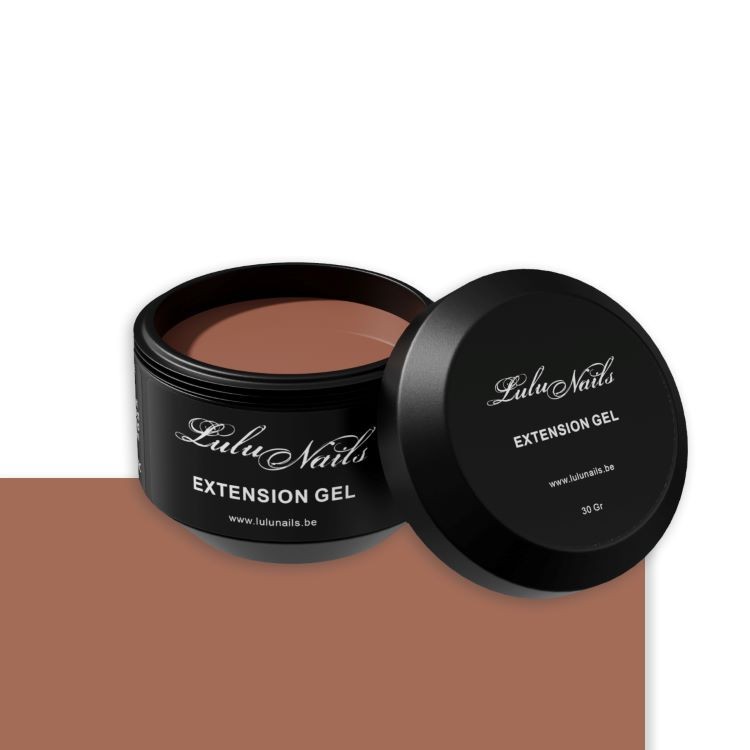
Builder gel allows you to control the amount of product used and build up the structure gradually.
Step 1: Prepare the nail
Carefully prepare the natural nail:
cuticles, nail plate, free edge and dust removal.
Then use the preparation products compatible with your system.
Step 2: Apply the Bonding Coat
Depending on the Builder Gel used, apply:
a Base Coat,
a thin layer of Builder Gel,
or the recommended bonding system.
Always follow the product instructions.
Step 3: Apply a thin first coat
Apply a thin layer over the entire nail.
This layer makes it easier to apply the material used for the build-up.
Avoid any contact between the uncured gel and the skin.
Step 4: Apply the Apex Material
Apply an additional amount of Builder Gel to the area where the buildneeds further reinforcement.
Do not automatically place a large dollop in the centre of the nail.
Use your brush to gently guide the gel.
The cuticle area should remain thin.
The amount gradually increases towards the apex and then decreases towards the free edge.
Step 5: Allow the Builder Gel to self-level
Using a self-levelling Builder Gel-levelling, allow a few seconds for the product to spread out.
Avoid constantly working the gel with the brush.
You can simply guide it.
Depending on the product’s texture and your technique, briefly turning your finger over may also help the gel to re-centre itself.
However, check immediately:
the sides,
the cuticles,
the amountof gel,
and the position of the apex.
Step 6: CheckBefore Curing
This is an extremely important step.
Look at the nail from the side.
Ask yourself:
Where is the highest point?
Then look at it from above and from the free edge.
If the structure isn’t correct before curing, correct it before curing.
Step 7: Cure
Place thenail under a UV/LED lamp compatible with the Builder Gel being used.
Always observe the curing time specified for the product.
Never use an excessive amount of gel in an attempt to work faster.
Step 8: Check the Structure After Curing
Once the gel has cured, examine the build again.
Check:
the apex,
the transition near the cuticles,
the parallel lines,
the length,
the free edge,
and the overall balance.
Carry out a corrective filing if necessary.
Apex with Self-Levelling Gel: Easier?
A self-levelling gel can make the build easier as the material tends to create a smoother surface.
This can help to:
reduce unevenness,
achieve a smoother surface,
minimise the need for certain corrections,
and work more quickly.
However, ‘self-levelling’ does not mean ‘automatic’.
The gel itself does not know where your apex should be.
It is always the nail technician who controls the amount and placement of the material.
Can you create an apex using a builder gel in a bottle?
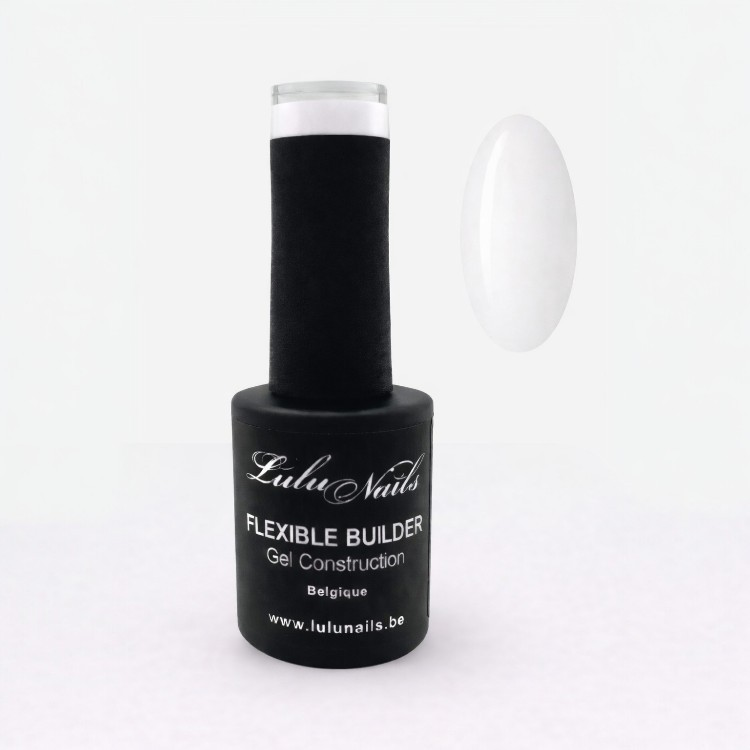
Yes.
A Flexible Builder Gel in a bottle can be particularly handy for creatinga subtle tip on short or medium-length natural nails, provided the product is designed for this technique.
The built-in brush allows you to apply the product directly from the bottle.
This format is particularly suitable for:
coating,
strengthening,
natural nails,
short applications,
light to moderate apex.
For longer extensions or designs requiring greater rigidity, a suitable builder gel in a pot may be more appropriate.
Apex with Builder Gel in a pot or a bottle?
Here is the main difference.
| Technique | Bottled builder gel | Jar gel |
|---|---|---|
| Short natural nails | Very practical | Possible |
| Strengthening | Very practical | Very suitable |
| Lightweight tip | Very practical | Suitable |
| Substantial build-up | Depending on the product | Generally more suitable |
| Long-lasting | Depending on the formulation | Often preferred |
| Quick application | Excellent | Requires a brush |
| Technical application | More limited depending on the product | Highly versatile |
The choice must always be based on the actual properties of the gel used.
Apex on Short Nails: Is a Large Bulge Necessary?
No.
This is probably one of the most common mistakes made by beginners.
A very short natural nail does not needhuge apex.
The aim is to create a structure proportionate to the length.
The shorter the nail, the more understated the design can be.
The application must retain a natural appearance.
Apex on Long Nails
On a longer extension, the distribution of the material becomes even more important.
You must take into account:
the length,
the shape,
the stress zone,
the side lines,
the free edge,
and the reinforcement point.
It is not enough simply to add more gel everywhere.
A long application must be built using a coherent structure.
Apex on a Square Shape
For a square shape, pay particular attention to the side lines.
A structure that is too wide can quickly look clunky.
Also check the profile structure to ensure that the apex is neither too far forward nor too close to the cuticles.
Apex on an Almond Shape
The almond shape requires good symmetry.
The structure must follow the general direction of the nail.
When viewed from above, the build must not deviate to the left or right.
Apex on a Coffin or Ballerina shape
These shapes require a more technical approach as the length increases.
The material must be distributed taking into account the narrower free edge.
Avoid concentrating too much material in the centre without controlling the sides.
What thickness should an Apex be?
There is no single thickness that works for all clients.
The correct thickness depends on:
the length,
the shape,
the product,
the natural structure,
and the technique used.
This is why we advise against relying solely on a fixed measurement found online.
A professional apex is proportional to the nail build.
Theaim is to achieve sufficient structure without unnecessarily creating a bulky nail.
Apex Too Thick: Why Avoid It?
An excessively thick apex can result in:
a heavy appearance,
an abrupt transition,
a visually domed nail,
more filing work,
and an unnecessary amount of product.
A large amount of material does not necessarily mean better structure.
Apex Too Flat: What’s the Problem?
Conversely, a completely flat construction may lack structure when the length or technique requires further reinforcement.
A balance must therefore be struck.
Neither completely flat nor excessively domed.
The shape must be suited to the installation.
Why does my Apextowards the cuticles?
With a highly self-levelling gel, the product may continue to shift whilst you are working.
Possible causes include:
too much product,
gel that is too runny for your working speed,
a waiting time that is too long,
a tilted finger,
or an uneven distribution of product.
To avoid this, work more quickly and regularly check the cuticle area.
Why is my Builder Gel running down the sides?
The problem may be due to the amount used or the viscosity.
If the builder gel is very runny, avoid applying too much product in one go.
You can &also work on one nail at a time where the technique and product allow.
Cure as soon as the structure is correct.
Why does my Apex disappear after a few seconds?
If the self-levelling gel is too runny for your technique, the material may gradually flatten out.
In this case:
reduce the curing time,
check the amount,
if necessary, work on one finger at a time,
or choose a viscosity that offers greater control.
The viscosity of the Builder Gel must match your working speed.
Can you turn your hand over to create the apex?
This technique can be used with certain self-levelling Builder Gels.
The principle involves briefly turning your finger over so that gravity helps the gel to re-centre itself.
However, this technique should not be regarded as an automatic solution.
Check the structure immediately before curing.
If there is too much material present, it may simply create an apex that is too large.
Apex and Filling: Why Does It Need to Be Repositioned?
Asa natural nail grows, the entire old build moves forward.
Theapex created during the previous application therefore gradually shifts towards the free edge.
Thisis why a professional refill does not simply involve filling in the regrowth area.
It is necessary to:
reduce the size of the old structure,
correct the architecture,
and then replace the new apex.
Otherwise, the reinforcement point will gradually remain too far forward.
Can a core build-up be carried out without an apex?
On an extremely short nail, the structure may be very subtle.
However, a base coat should not simply be regarded as a thick, uniform layer.
Eveneven when it is light, one must consider how the material is distributed.
The longer the piece, the more important this step becomes.
Rubber Base or Builder Gel for Creating an Apex?
The two products generally do not offer the same level of build-up.
Rubber Base
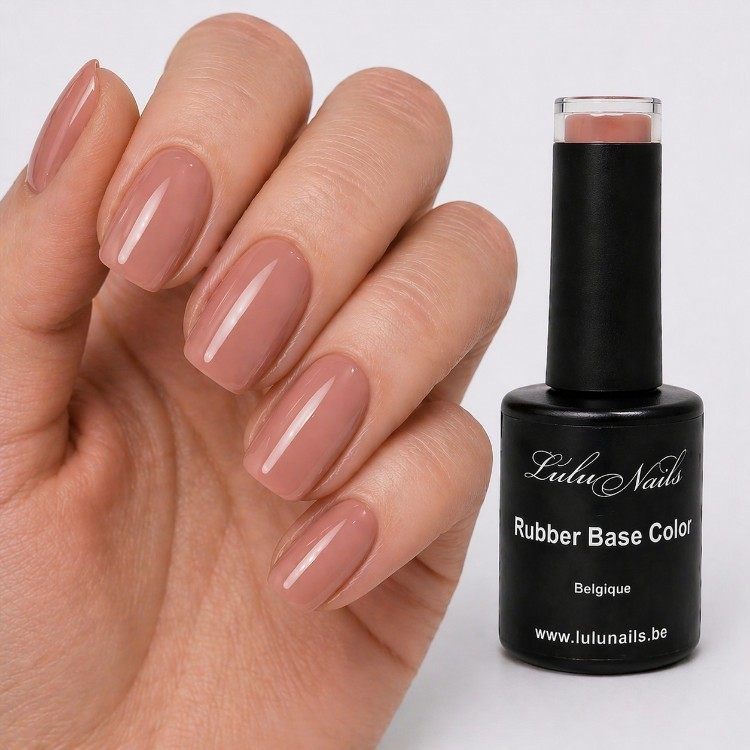
It is mainly used for relatively light and flexible reinforcements, depending on the product.
A slight curve can be created.
Builder Gel
It allows for greater control over the structure and the apex.
It is therefore particularly useful when you want to create a more structured design.
Which Gel Builder to Choose for Learning Apex ?
For a beginner, an extremely runny gel can be difficult to control.
A gel withbut sufficiently stable generally allows you to better observe how the gel moves.
Natural colours are also useful for learning:
Nude Pink
makes it easy to see the structure.
Milky
offers a natural finish.
Nude Caramel
allows you to create a warm, full-coverage build-up.
Rose Cover
offers greater coverage.
Transparent
allows you to see the nail structure very clearly.
LuluNails Builder Gels for Creating Nail Architecture
LuluNails offers several Builder Gels / UV/LED Builder Gels designed specifically for coating, strengthening and extensions, depending on the product’s characteristics.
The range includes, in particular:
Milky Naturel
for milky manicures, Baby Boomer looks and natural-looking nails.
Rose Nude
for a natural-looking build.
Rose Cover
for greater coverage.
Nude Caramel
for a warmer nude finish.
Transparent
for a versatile base before colour or nail art.
LuluNails also offers Flexible Builder Gels in bottles for coating and strengthening natural nails.
HEMA- and TPO-free Builder Gel
The relevant LuluNails builder gel ranges are formulated without HEMA or TPO.
This does not mean that a UV/LED product is automatically free from the risk of a reaction.
When working on the apex, it is particularly important to ensure that the uncured material does not drip onto:
the cuticles,
the lateral folds,
or the skin.
Remove any excess before curing and use a UV/LED lamp compatible with the product.
UV/LED Lamps and Apex: Why Does Curing Matter?
A beautiful design is not enough if the product is not properly cured.
Always ensure:
the recommended curing time,
the compatible lamp,
the correct thickness,
and the correct hand position.
Do not automatically reduce the curing time simply because your lamp has a higher wattage.
How to Check Your Apex Like a Professional?
Before finishing your application, carry out three checks.
Side view
Check the rise of the structure and the position of the highest point.
Top view
Check the symmetry and that the lines are parallel.
View of the free edge
Check the thickness and the left/right balance.
This habit allows you to quickly spot many architectural issues.
7 Common Mistakes with Apex
The most common mistakes are:
- placing a large ball exactly in the centre without analysing the nail;
- creating the same apex across all lengths;
- applying too much gel;
- leaving the build completely flat;
- placing the apex too close to the cuticles;
- keeping the old apex in the same place during a refill;
- looking at the nail only from above.
A good build should always be checked from several angles.
Apex Diagnostic Table
| Problem | Possible cause to check |
|---|---|
| Very domed nail | Too much material |
| Completely flat build | Insufficiently structured material |
| Gel in the cuticles | Too much product or gel that is too runny |
| Insufficiently structured gel | |
| Gel in the cuticles | Too much product or gel that is too runny |
| Insufficiently structured gel | |
| Gel in the cuticles | Too much product or gel that is too runny |
| Insufficiently structured gel | |
| Gel in the cuticles | Too much product or gel that is too runny |
| Gel in the cuticles | Too much product or gel too runny |
| Apex too far forward | Incorrect placement or regrowth |
| Apex too close to the cuticles | Material poorly positioned |
| Nail too thick throughout | Poor distribution |
| Free edge too thick | Excess material |
| Asymmetrical structure | Incorrect left/right distribution |
FAQ – Apex Gel Nails
What is the apex of a nail?
Theapex is the main point of reinforcement in a gel build. It helps to maintain the balance of the structure.
Where should theapex be located?
Its position depends on the length, shape, stress zone and type of build. It should not automatically be placed exactly in the centre of each nail.
Is an apex necessary on short nails?
A slight apex or a subtle structure may suffice on a very short extension. The longer the nail, the more important the architecture becomes.
Does an apex need to be very thick?
No. A large amount of product does not automatically mean greater strength. The distribution of the material is essential.
Can you create an apex using Builder Gel from a bottle?
Yes, provided the Flexible Builder Gel is designed for coating and building the natural nail.
Can you create an apex using a Rubber Base?
A Rubber Base can allow for a slight curveor reinforcement depending on the product, but a Builder Gel generally offers more building options.
Why is my apex running?
The gel may be too runny for your working speed, you may be using too much, or you may be waiting too long before curing.
Why is my tip always too thick?
You are probably using too much material or not spreading the gel sufficiently across the different areas of the nail.
Do I need to redo theapex during a refill?
Yes. The old apex moves forward with natural nail growth and must be repositioned during the touch-up.
Can you create an apex without filing?
With a self-levelling gel and good control of the product, the need for filing can be reduced. However, a correction is still preferableif the build structure is incorrect.
Which gel should you choose to learn how to build an apex?
A gel with that is sufficiently stable and controllable is generally easier for a beginner to work with than an extremely runny gel.
How can I tell if my nail structure is correct?
Examine thenail in profile, from the top and from the free edge. The build must be balanced in all three directions.
Is theapex necessary for a long extension?
The longer the nail, the more important it is to have a suitable structure and a good distribution of the material.
What is the difference between the apex and the stress zone?
What is the difference between the apex and the stress zone?
The stress zone is an area subject to significant stress. The apex corresponds to the reinforcement point designed taking into account this zone and the overall structure.
Learn &build an apex with LuluNails
Creating a good apex mainly involves understanding where and why to place the material.
Remember the key points:
the apex is not just a large bump;
it is not placed in exactly the same spot on every manicure;
its size depends on the length and the architecture;
more gel does not automatically mean greater strength;
a structure must always be viewed from the side, from above and from the front.
To create your builds, discover the Builder Gels and LuluNails Flexible Builder Gels, available in various natural shades, nude, Milky, Cover and Clear.
LuluNails also offers training courses in Liège where you can learn about nail preparation, nail architecture, strengthening, gel applications and touch-ups.